Hello, yeah, it’s been awhile.
Not much, how ’bout you?*
We’re into Day Five of rainy weather. If you’re in the Mid-Atlantic area of the USA, you probably have the same weather. We had a bit of a reprieve yesterday with just dampness but the clouds just couldn’t hold it in all day and night. At least we don’t have to water the vegetables and flowers! How did Noah do it with forty days and nights of rain?
You’re not here for a weather report but where to start?
Let’s begin with January.
Last year ended and this year started with cold/flu/the bat-poop virus. After ten days of dealing with it, I finally got in to see the doctor. He wasn’t sure what I had but started me on the road to recovery with medicine. I lost eight pounds when everyone else was gaining from all the holiday goodies. I lost my sense of taste, so why eat when I couldn’t taste anything?
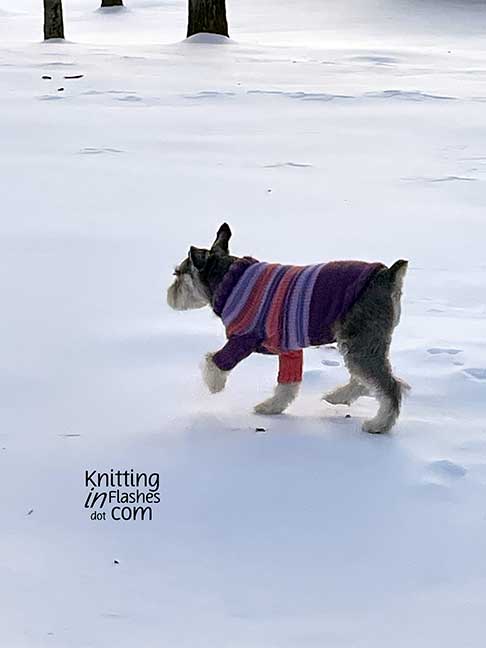
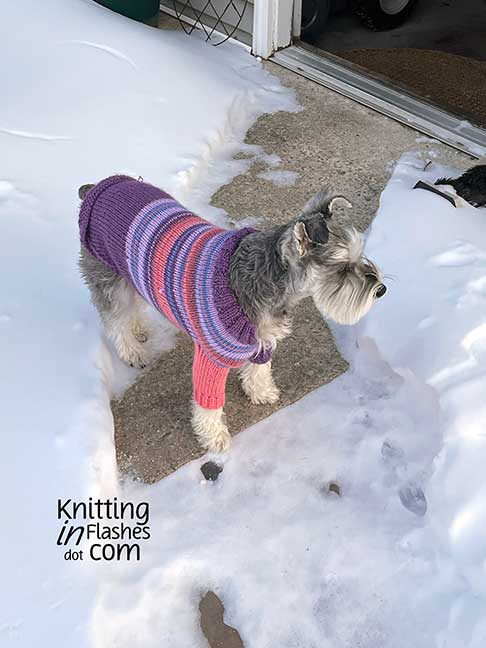
I finished a sweater for Pepper with odds and ends of acrylic yarn. The yarn is Caron Simply Soft and it is super, super soft and stretchy. I knit it twice as it kept growing and growing. Ripped it out and got a better fit the second time. She still hates anything that goes over her head but we managed.
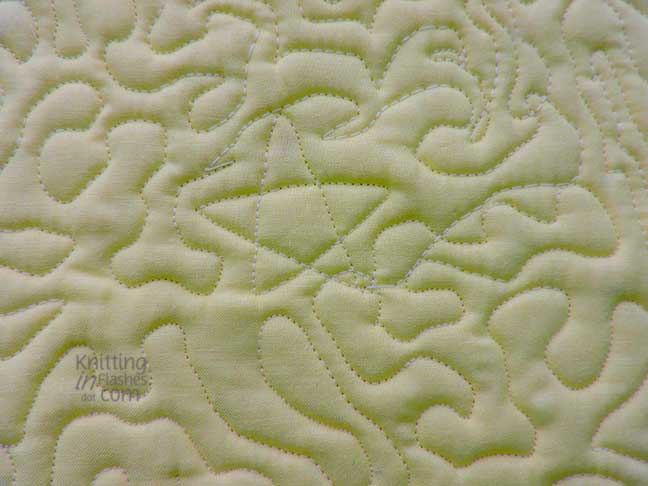
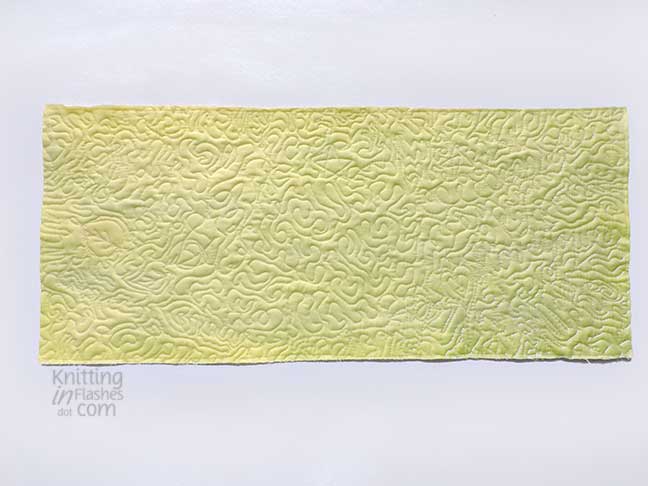
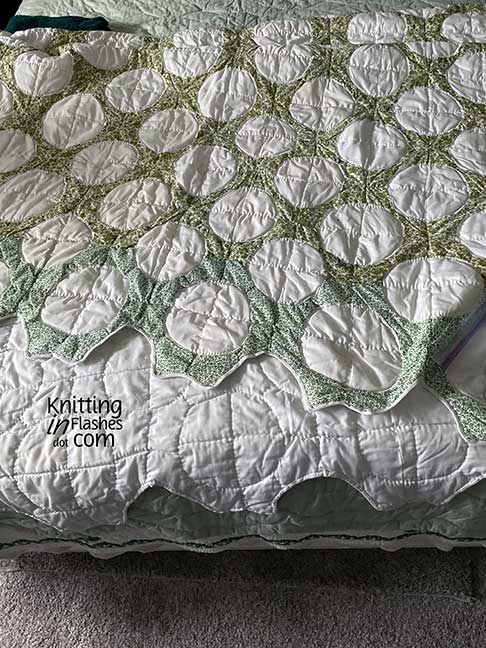
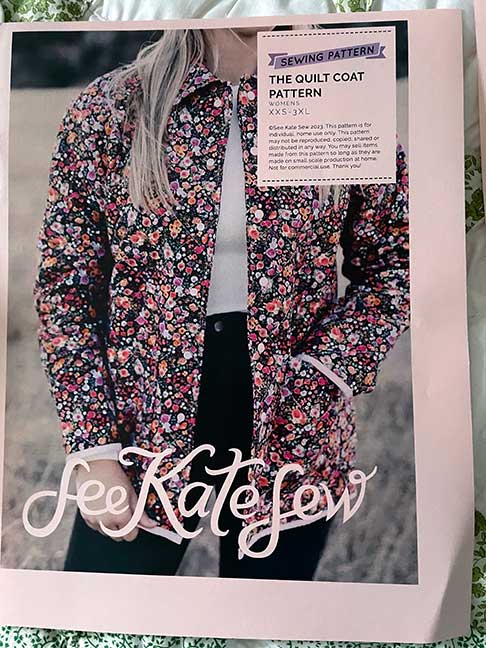
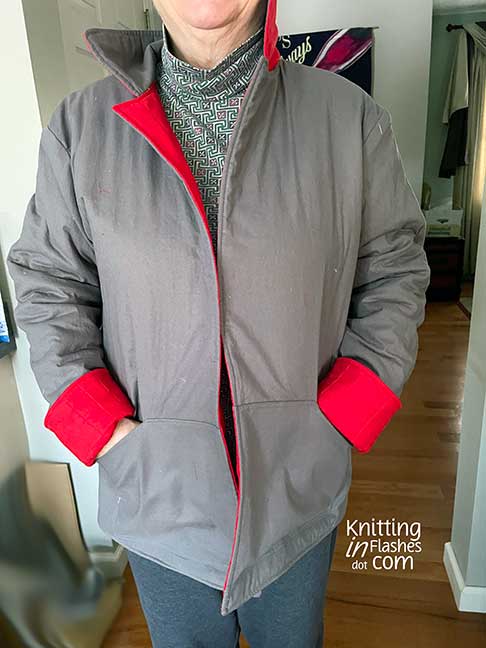
Coats from old/new quilts has been a “thing” for a few winters. I bought a pattern (from See Kate Sew) to make one and finally decided to give it a try using one my my M-I-L’s quilts. When she died, Mr. Aitch and his two brothers found her quilt stash and started tossing them into three piles without looking at any of them. Ten made it to our house. Some beautiful, some not so much. I used a not-so-much pretty quilt to test out the pattern.
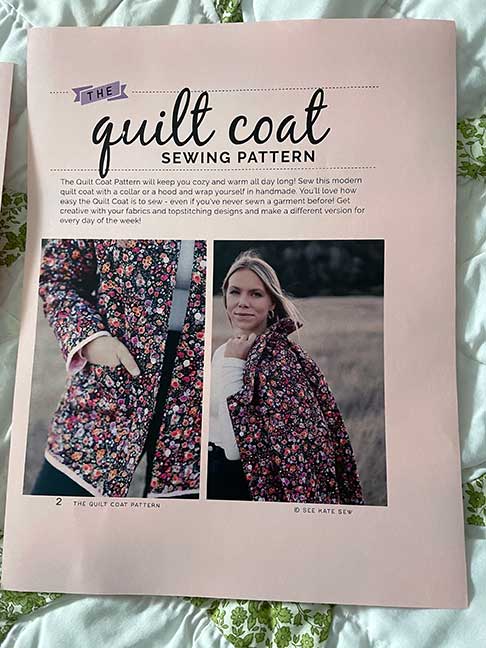
I made the large and it fit perfectly!
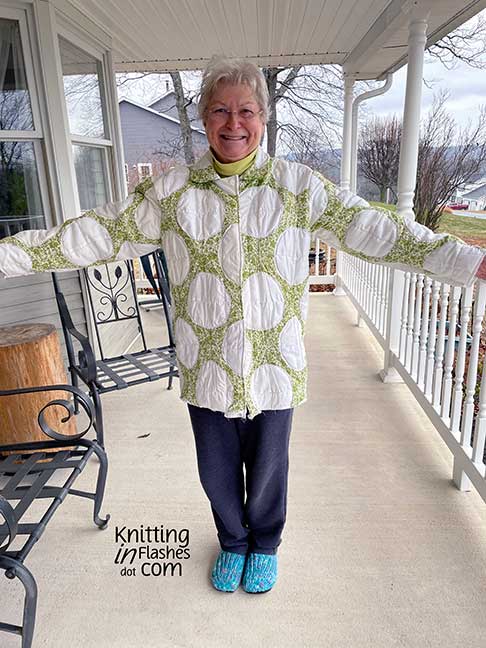
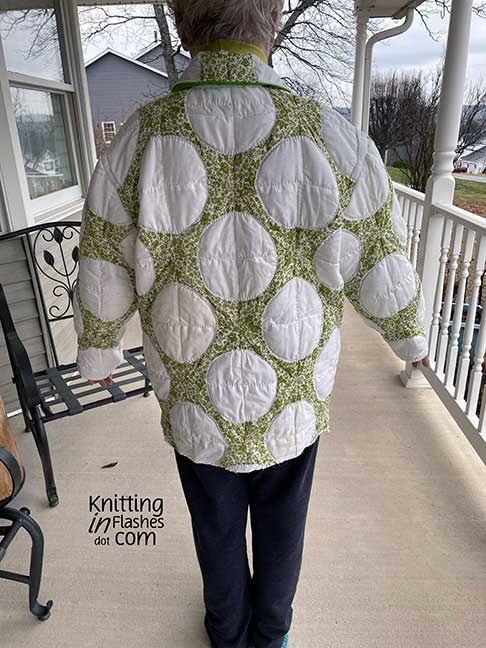
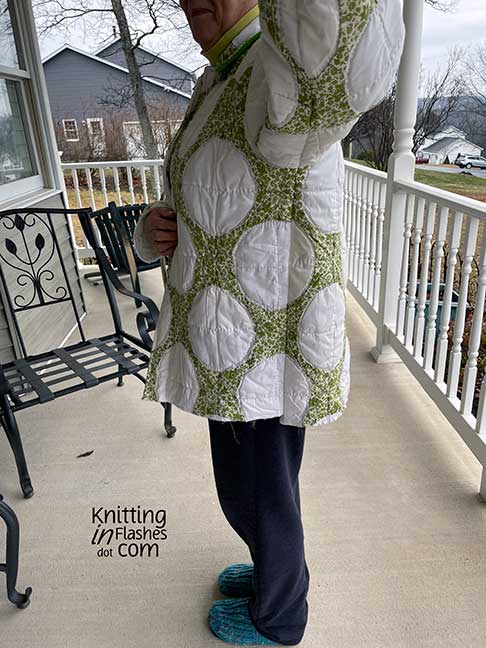
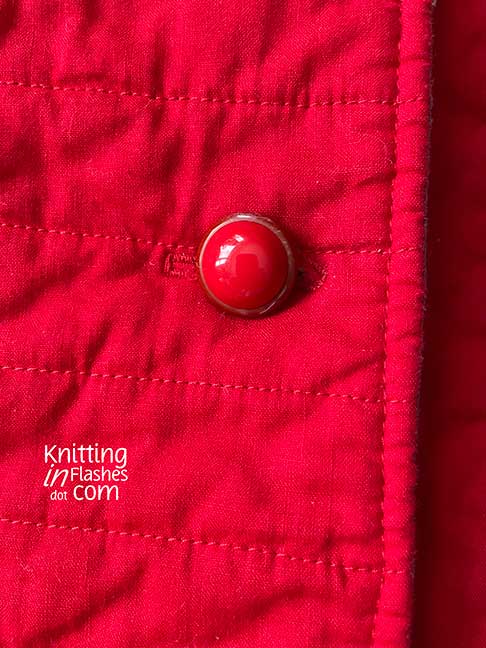
Even though it is not much to look at, I did manage to match the seams and finish it, though these pictures are not of the completed coat. I used snaps for closures but one kept falling off so I made a buttonhole and sewed on a button. It’s warm enough to take Pepper outside. That’s about as far as I’ll go in wearing it.
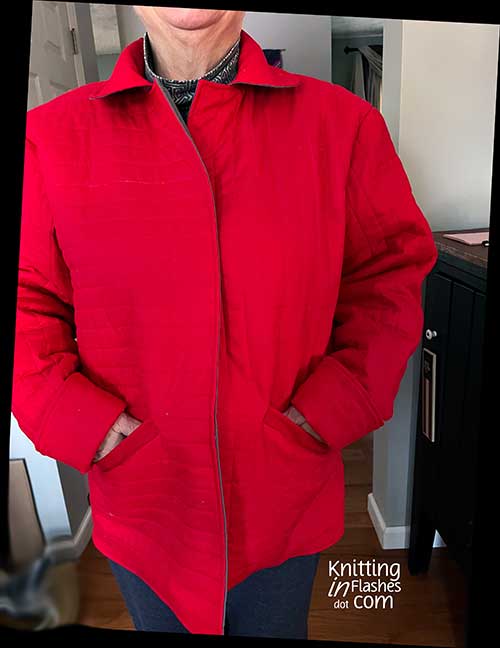
With that success, I was ready to make the “real” coat to actually wear in public!
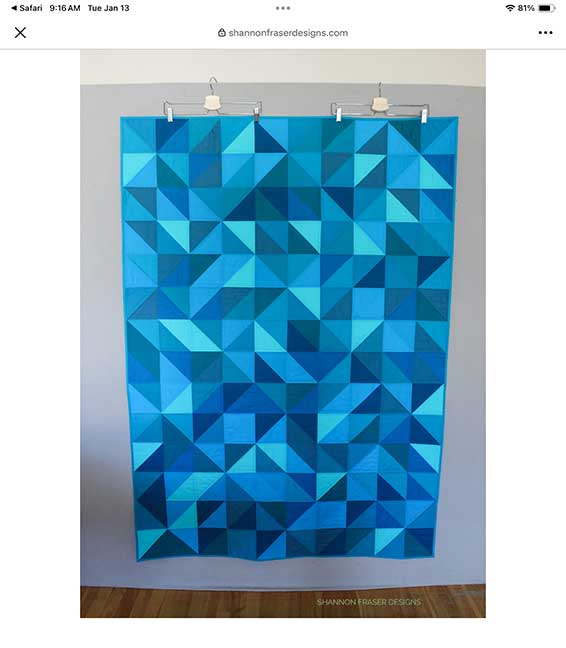
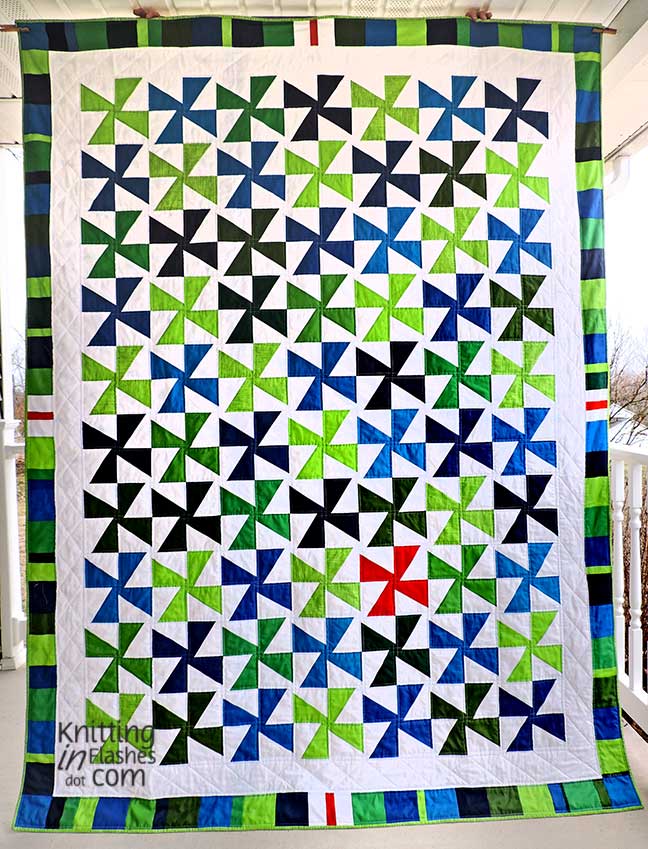
My first idea was a total patchwork quilted coat. After I got the back pieced and quilted, I threw that idea out the window. The back was perfect for the patchwork and the rest would be a solid. Red.
See my inspiration to the right.
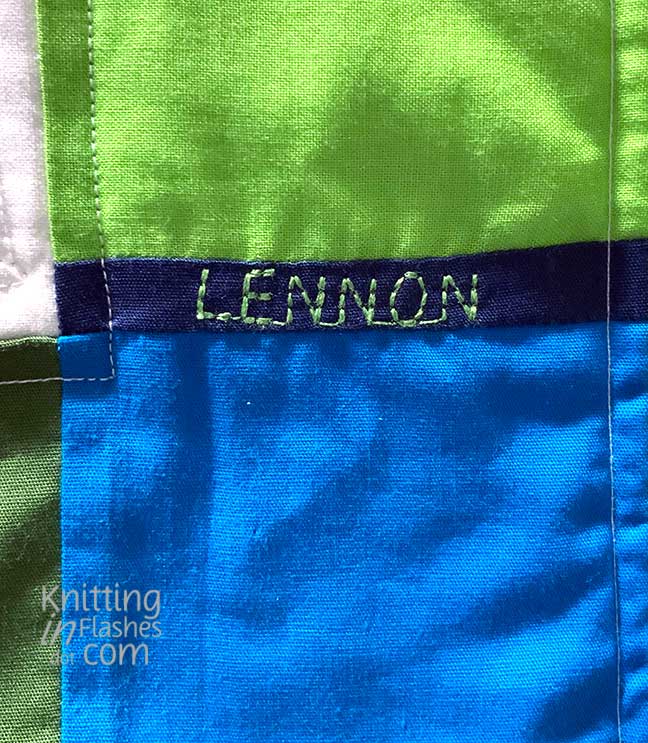
iPad Aunt loved reds and purples. I used fabric scraps from her, my mother-in-law, my BFF, and me. Plus I had enough solid red for the front and sleeves. I wanted the inside to look just as nice so I pieced one large quilt block from some of the reds and grey from my stash for the back panel.
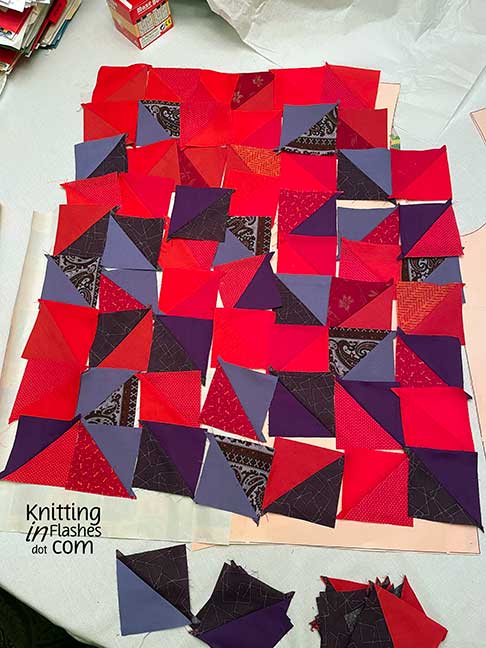
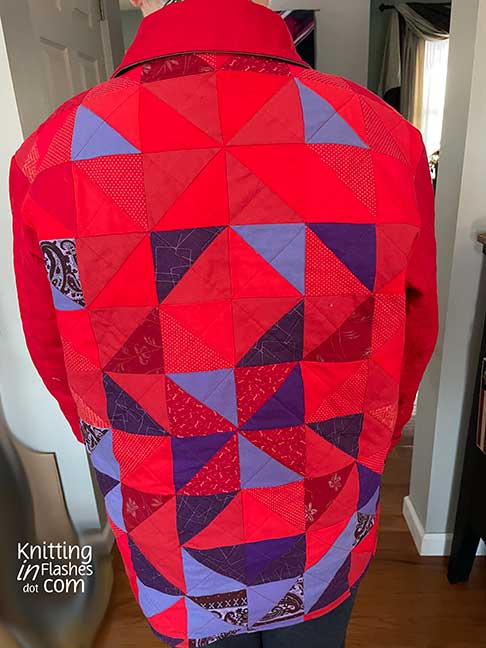
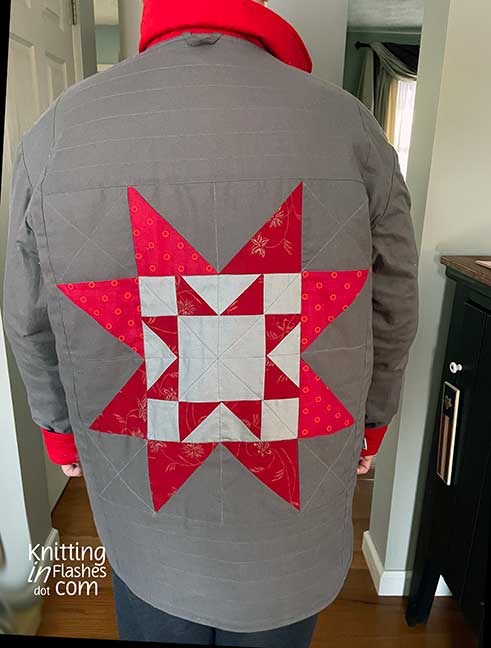
I quilted each piece before assembling it all together.
I LOVE it! I get lots of compliments on the coat.
- Fabric from stash = $0
- Batting, leftover from another quilt = $0
- Buttons, from a top I made in college = $0
- Thread from stash = $0
- TOTAL COST : FREE (except for my time and electricity)
I will definitely make another one of these coats…Not sure if I will use pre-quilted fabric, a quilt, or start from scratch.
On another note – Today is Memorial Day in the US. A day we honor and remember our fallen soldiers. We must remember that our freedoms are not free. They were bought with people’s lives. Thank you and God Bless America! 🇺🇸🪦

*England Dan and John Ford Coley