Sewing is one of my more regular craft-type pursuits. Quilting is a more recent one and I’m willing to experiment with my sewing machine. Specifically the quilting, free-motion, or darning foot.
Without getting too technical when using this particular foot, the feed dogs are lowered and the pressure on the foot is set to light. This allows the sew-er to gently maneuver the fabric in any direction while sewing, not just in a straight line.
I wanted to experiment with free-motion quilting and our heating pad needed a new cover. No one would ever see this so what better way to learn than to practice!
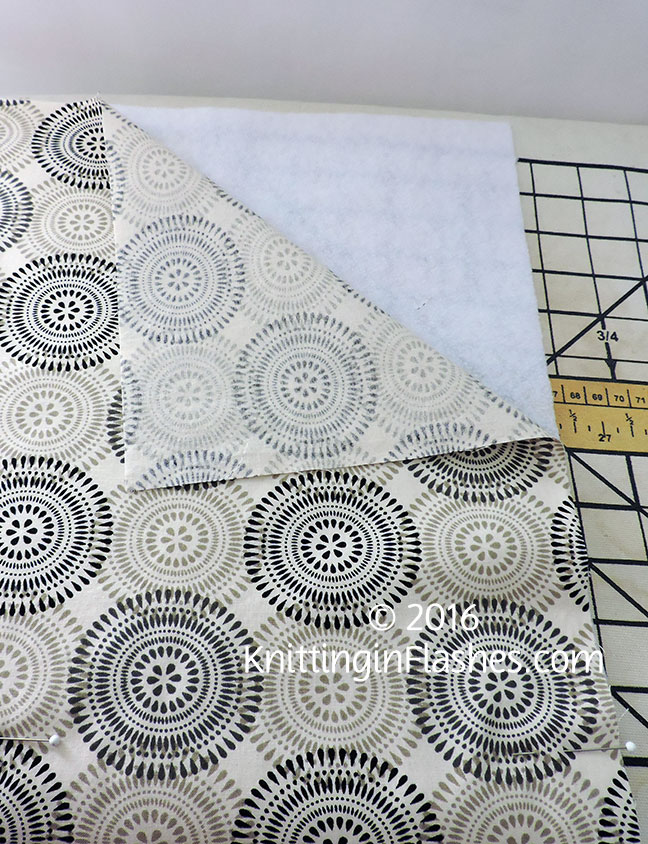
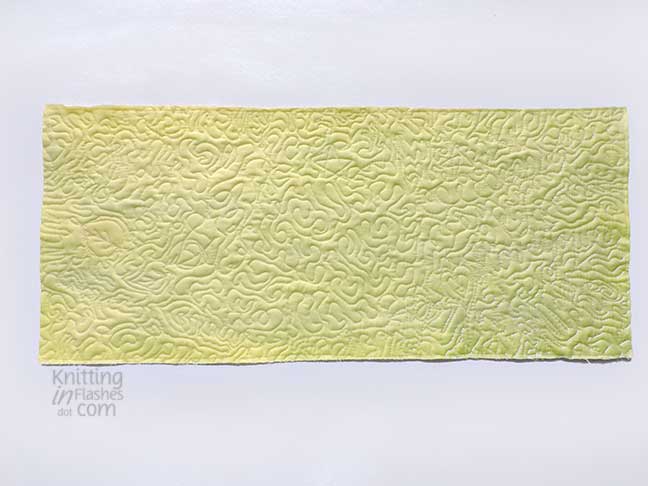
I layered a piece of 100% cotton batting between two pieces of cotton fabric and pinned this all together before taking it to my sewing machine. The total size was 12 inches by 27 inches. I began stitching in the center and made my way out toward the edges.
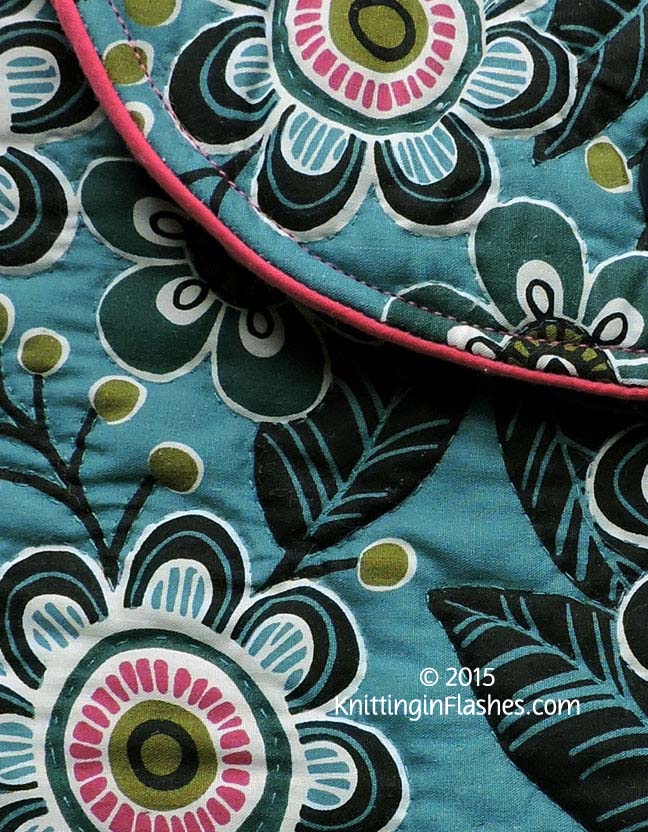
My stitches aren’t even as I moved the fabric around. Going slowly gave me better control of stitch length. You can see some longer stitches and very short stitches as I tried to make this star.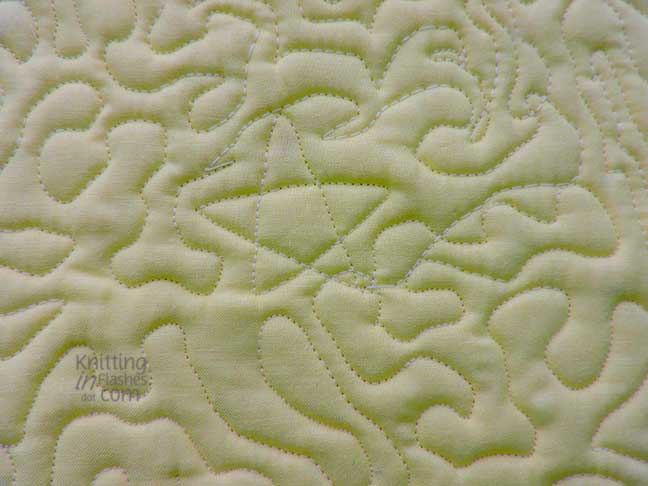
I drew a leaf with pink chalk and tried to go over the lines here.
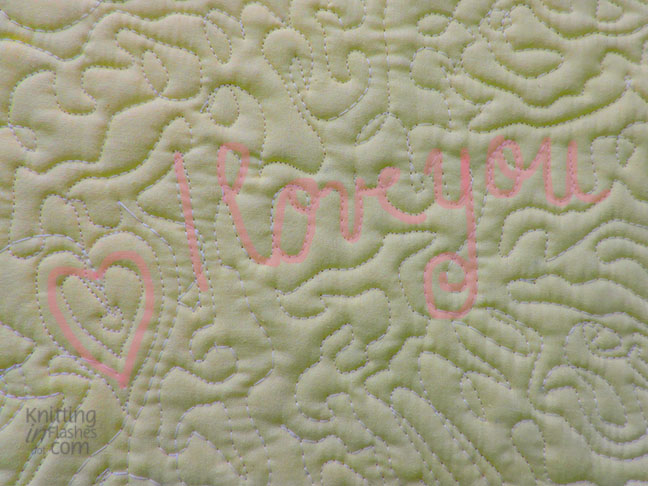
More leaves and a heart.
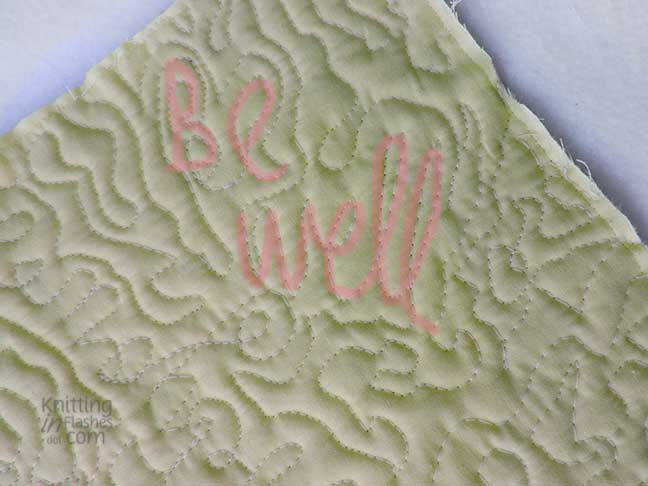
Can you see the hidden messages below? 

All quilted.
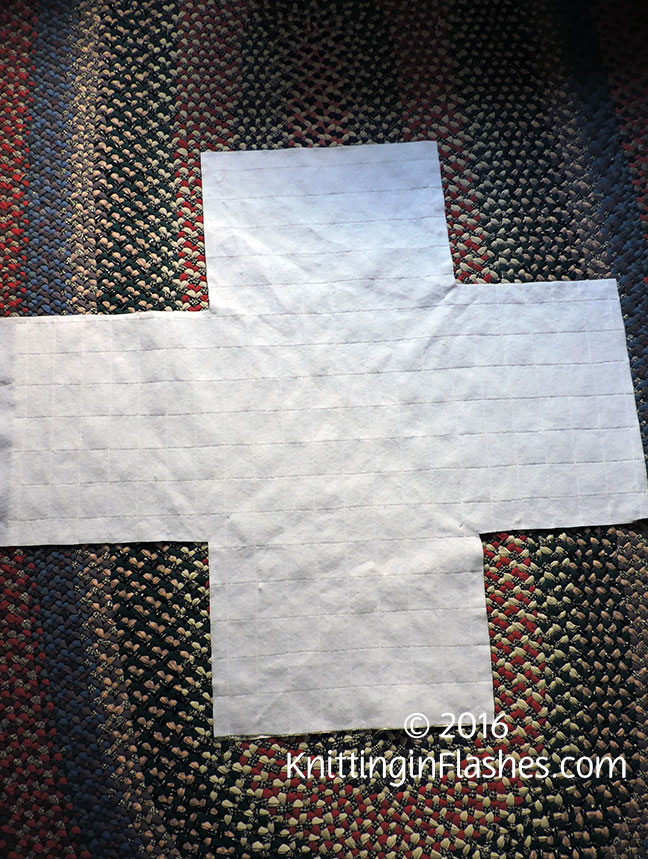
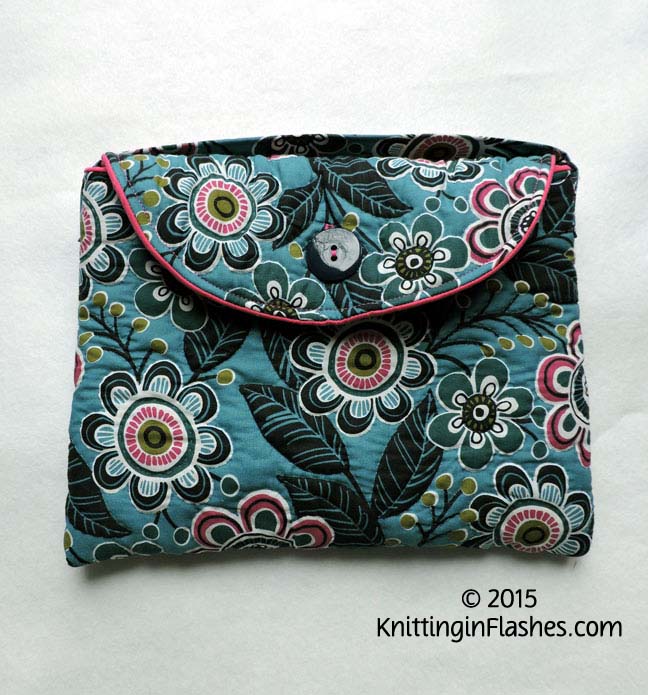
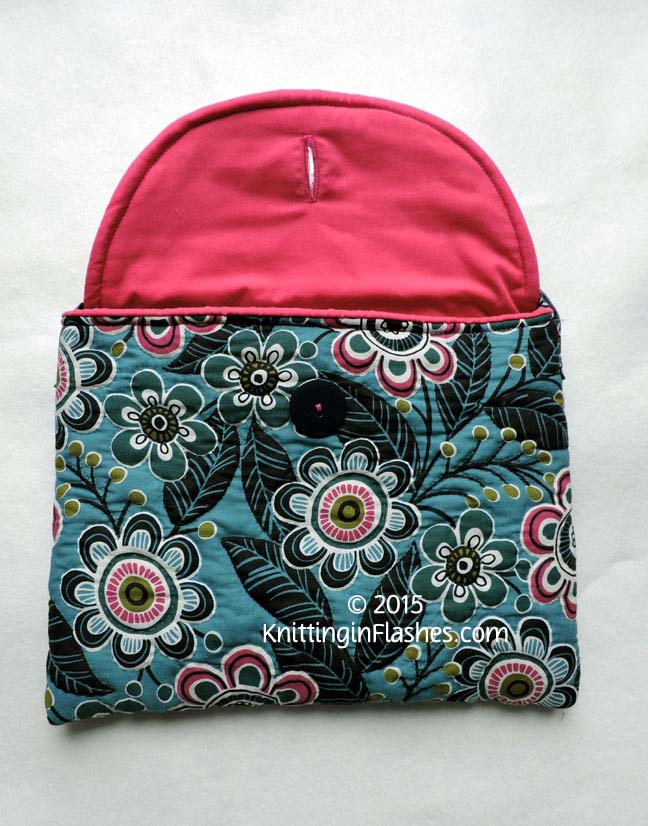
I added binding around the entire piece (don’t look at the horrible corners!) then folded it in half to make a padded envelope for our heating pad. I also made a new flannel cover to conceal it all and make it removable for washing.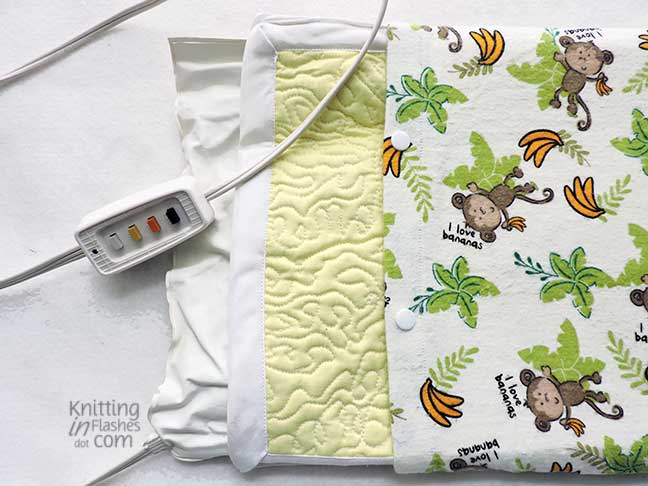
I do need lots more practice using this foot on my sewing machine before I tackle a regular-sized quilt. It was fun and I learned a few things.
Do you sew and have you tried using all of the feet that came with your machine?