Don’t tread on me?

Finally finished last week!  And I L.O.V.E. it!030-me-w-purse

The zigzags remind me of tire treads so I decided to name my purse “Don’t Tread on Me.”030-felted-front-001

The treads felted flat into the knitted body but are slightly visible in the lower section in certain lighting.  Perhaps less felting would have retained the raised texture.032-felted-front-closeup-002

The ombre effect turned out well.031-felted-back-001

Love the swivel hook and triangle ring.033-felted-hook-001

Fully lined.034-inside-empty-001

All the stuff I carry…036-labeled-stuff

…has a place.035-inside-full-002

Project details later.

Light ash, grey and medium

We have had such a mild winter so far and the temperature got up to 72 F yesterday so I decided to shoot some pictures outdoors.016-front-001

The knitting is finally finished on the Lopi purse and am waiting (impatiently) for the hardware before beginning the felting process.017-front-002

Other than that bit of inspiration for the zigzags which came from the Don’t Skid, Honey fingerless gloves from last year, I made up the pattern as I went.  My hope is that the raised texture is still raised after felting.  If not, it can always be added later.019-back-001

I like the sturdiness of the i-cord bind off. It’s the same as the other felted bags I’ve made.

011-i-cord-bind-off

Those tabs still on the needles will be sewn over the hardware before felting. Same with the strap ends. The strap will also be lined to help with the scratchiness of the wool on my shoulder as well as to keep it from stretching out of shape.018-handle-holder-001

Maybe the hardware will arrive today and this can become a Finished Object.

I cheated

Yes, I must confess that I cheated on my yarn diet.

I wanted to make a new felted purse and use up some gifted yarn at the same time.

004-yarn

I even swatched!

001-swatches

5 inches by 5 inches on the left.  4 inches by 4 inches on the right after hand felting.

Only I don’t have enough yarn to complete the project.  I’m making up the pattern as I go and I thought I just might have enough yarn when I began.

003-front-001


Two balls of yarn knit and one to go.  It’s not going to be large enough for my liking.

006-back

The back is plain.

008-bottom-002


007-bottom-001The bottom is 5 x 15 inches.

008-front-003

The bag is 7 inches tall…so far.  the purse/bag will shrink at least 20% according to my swatch.  The swatch was felted by hand and I will probably do this in my washing machine so it will shrink faster.  Not as much control but results in a denser fabric.  And did I mention that it’s faster?

Well, I found that Lopi yarn is still made just not distributed by Reynold’s. No guarantees that the color (light ash heather 0054) would match exactly as they would be different dye lots.  So I bought two balls each of ash heather (color 0056), heather grey (0057), and dark grey heather (0058).

009-yarn1

My plan is to gradually start working in the next darker ball of yarn then add each color going from light to dark.  I will keep the zigzag in the lightest color for contrast and continuity.

005-front-detail-002

My other option is to rip it all apart and begin over with the darkest color on the bottom and transition to the lightest color at the top.

010-yarn2

Which would look better?  Go from light at the bottom to dark at the top?  Or have the dark on the bottom and to light at the top?

Or am I over thinking this project and just go with what I’ve done?

Gifted Knit 2016 Part 2

Still catching up on 2016 knits…

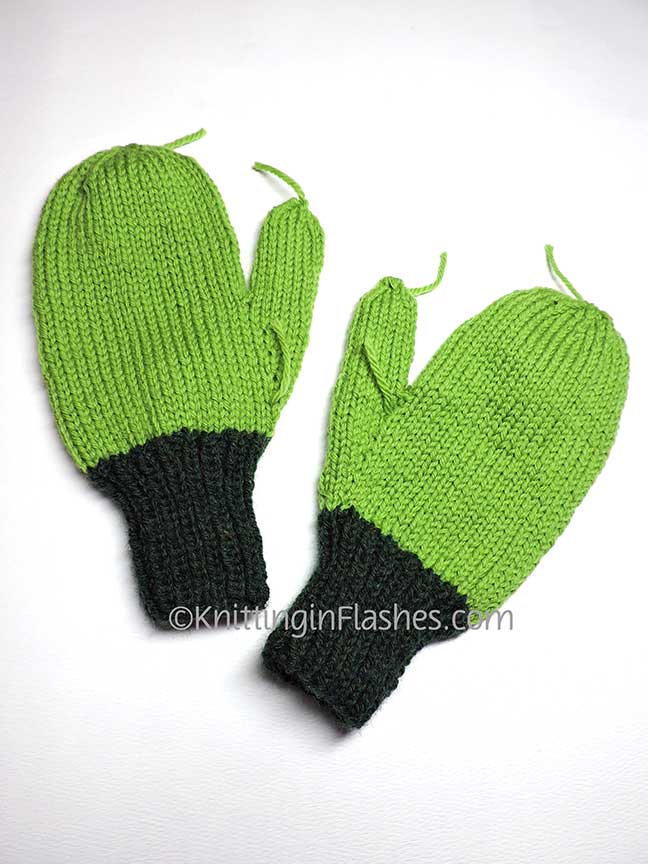
The other gifted knit was a pair of felted mittens for one of my grandson using a generic mitten pattern that I tweaked, made larger and then felted.

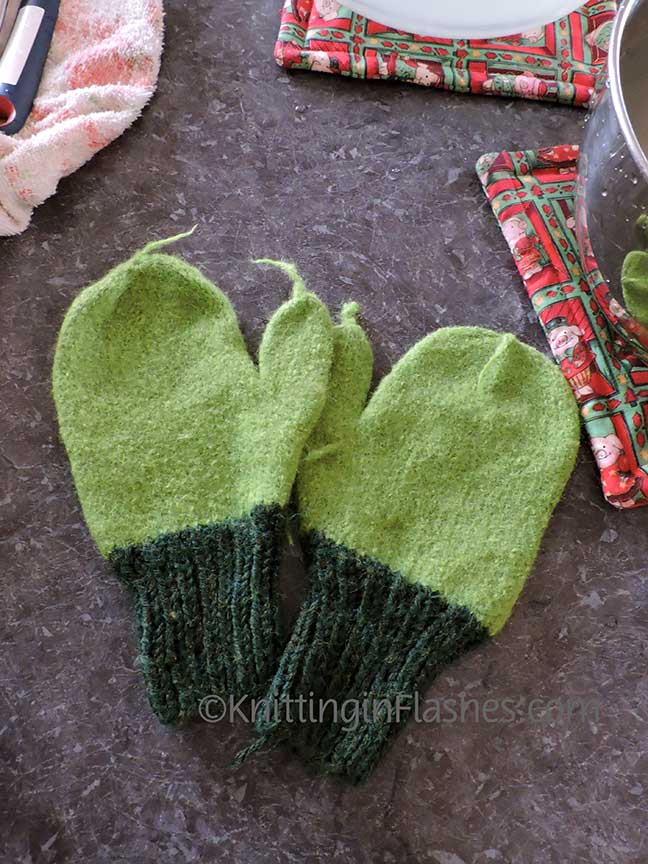
The wrist ribbing was knit with Lions Brand Wool-eze in a dark green that won’t felt and the hand part of the mitten was Cascade 220 in Primavera that did felt.

ls-mittens-001

Before felting, I drew around on of the mittens so I could see the difference.

ls-mittens-002

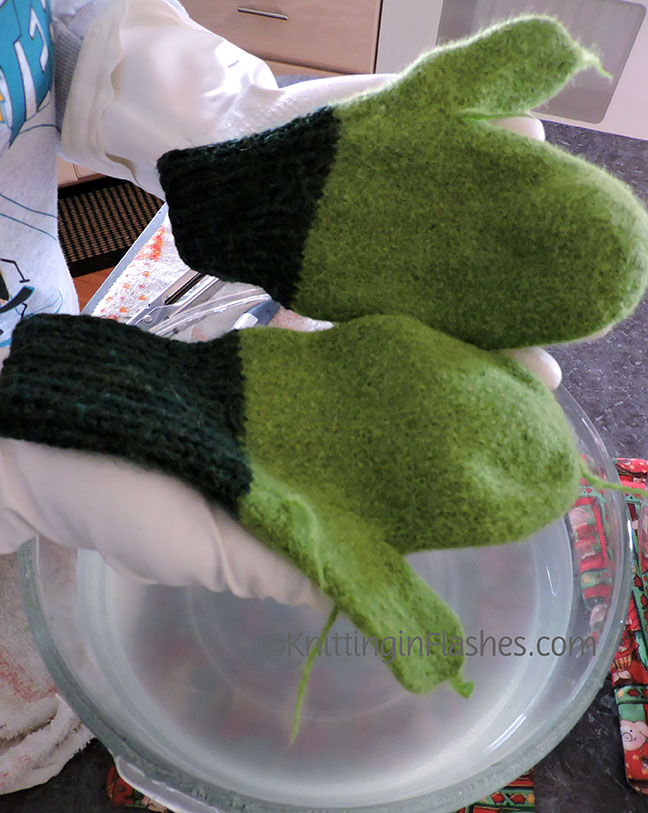
I felted the mittens by hand so they aren’t as “solid” and machine felted ones but I think they will do the job of keeping his hands relatively dry and warm.

ls-mittens-felting-001

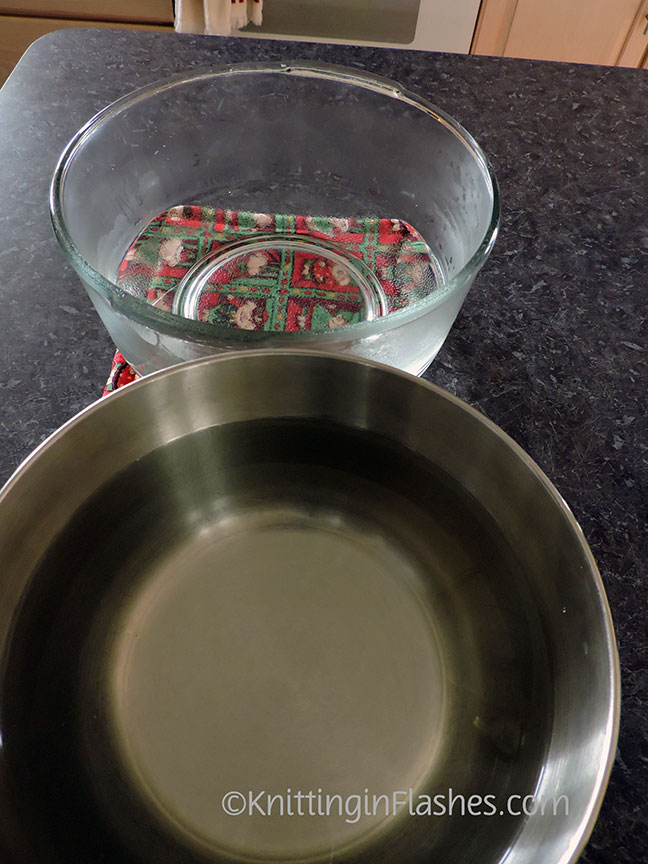
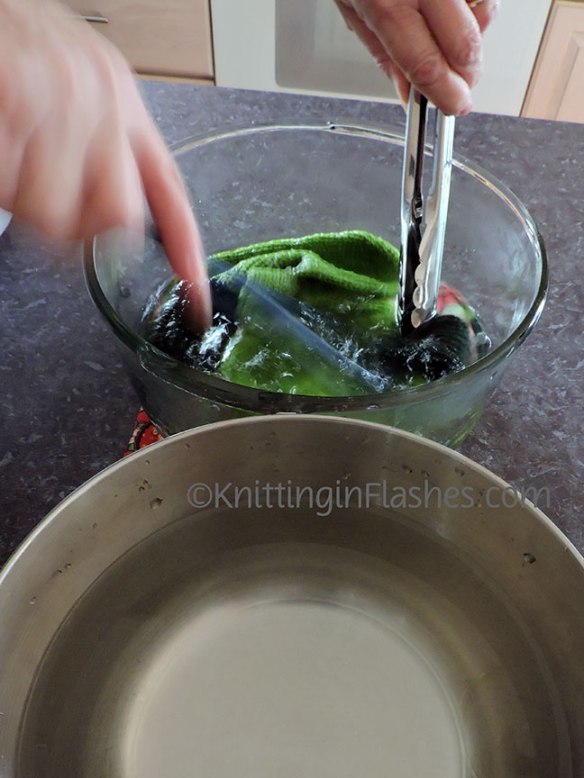
I filled two bowls with water, one cold and the other one HOT.

ls-mittens-felting-002

The mittens soaked in the cold water for several minutes.

ls-mittens-felting-003

ls-mittens-felting-004

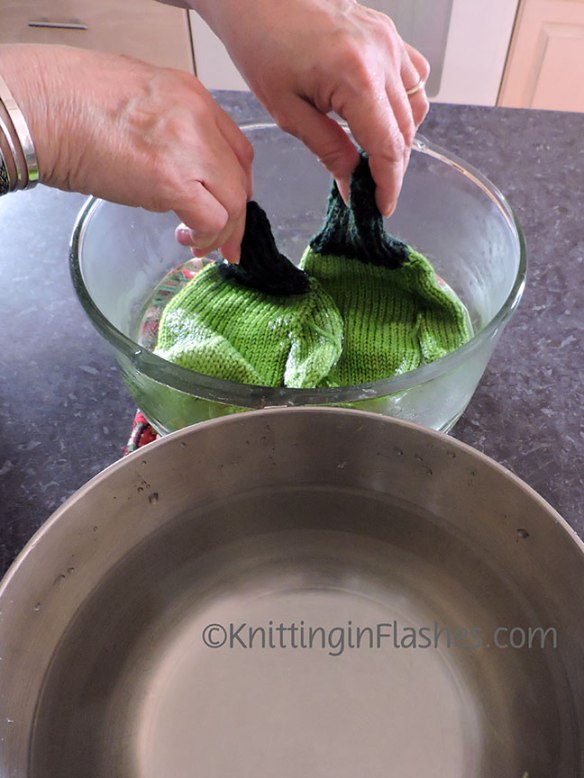
Then dipped and swished in the hot water.

ls-mittens-felting-005

ls-mittens-felting-006

Cold water…

ls-mittens-felting-007

“scrubbing” the mittens to felt the yarn…

ls-mittens-felting-008

…then back into the hot water.

ls-mittens-felting-009

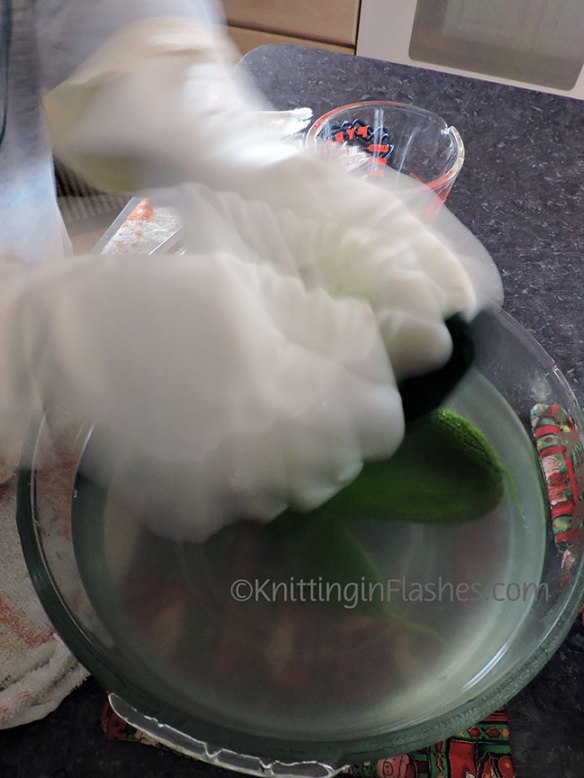
Add hot water periodically to keep the temperature contrast.  I had to wear rubber gloves to protect my hands from the heat.

ls-mittens-felting-010

and repeat again, and again, and again until the item is felted to your liking.

ls-mittens-felting-011

They didn’t felt as small as I thought but then again, I did this by hand.  Machine felting would have definitely been better but this was a small project and I wanted to have more control over the process.

The process took about 20 minutes of switching between the two bowls and rubbing the mittens together to get them to felt.

ls-mittens-felting-012

They are a bit big but he can grow into them.

mittens

If any one is interested in the pattern (I made up as I went along), just leave a comment below.