Eye of Partridge Heel flap

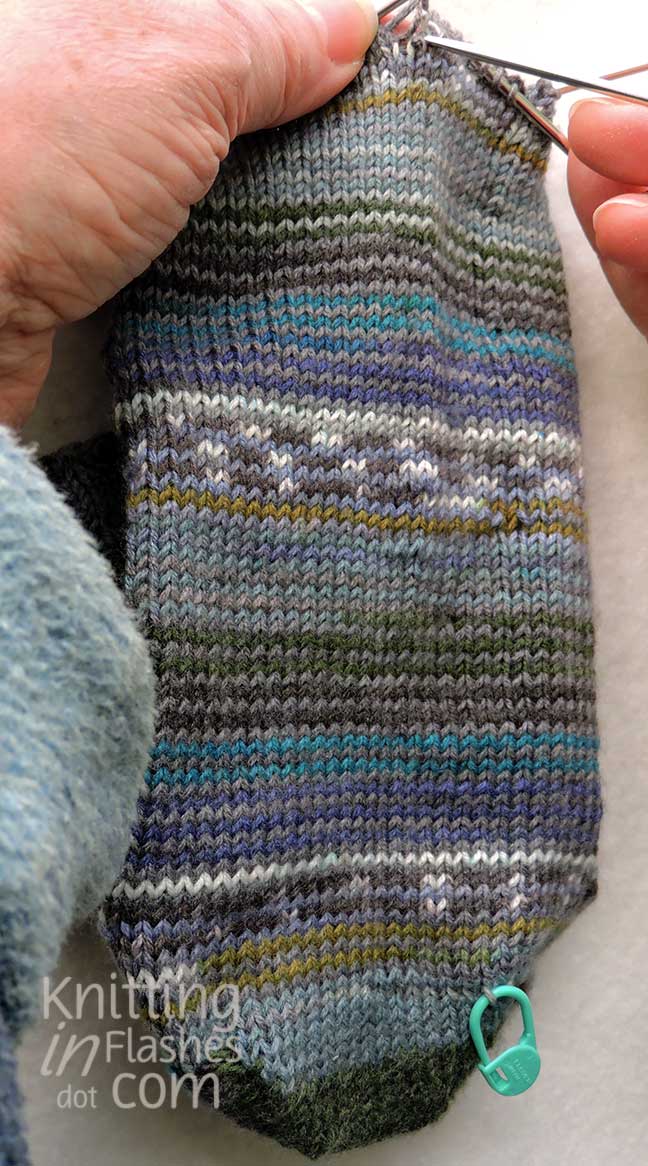
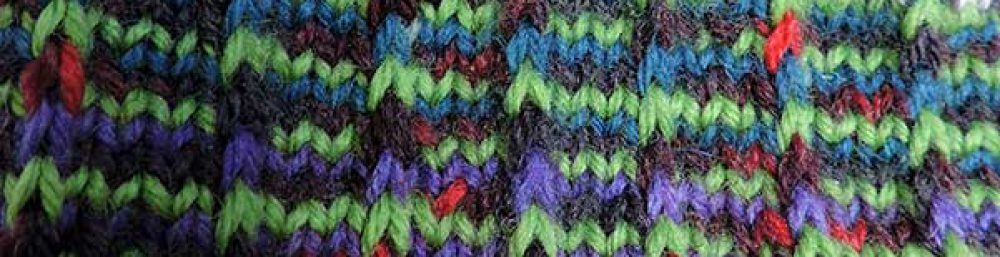
I mentioned in my previous post that I like the Eye of Partridge heel flap.  It has a dimpled diamond stitch appearance and I just think it looks cool.  The technique is very similar to the more common Slipped Stitch Heel flap (below).

As with a lot of knitting stitches, the Eye of Partridge may be called something else.  I’ve also seen it called V-Heel flap (below).

I’m not going to explain the how’s of the heel flap, just the basic stitch pattern for the EoP flap on a typical top-down sock.

Eye of Partridge Stitch

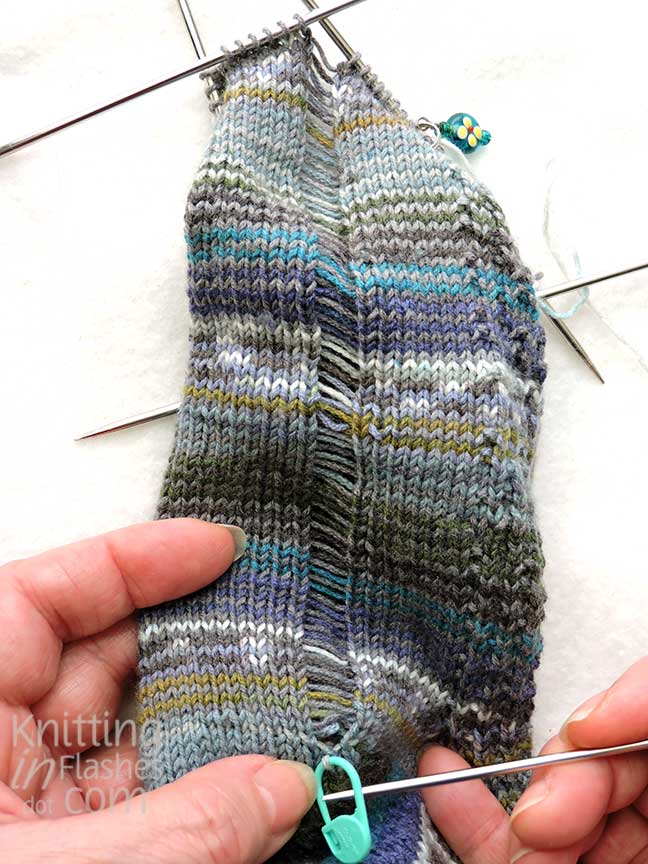
Divide the heel stitches according to your pattern.  I the case of a 64-stitch sock, work the heel flap on 32 stitches leaving the instep stitches on the other needle(s). I find it easier to work the heel flap on two dpns than circulars.

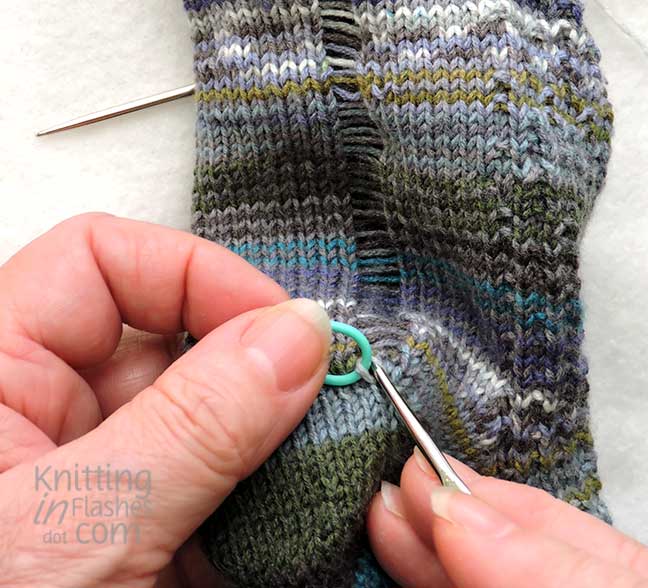
Row 1: (Right side) * Sl1, K1*, repeat across, ending with K1.
Row 2 and all even rows: Sl1, purl across row.
Row 3: Sl1, Sl1, * K1, Sl1,* repeat across row ending with K2.
Row 4: Repeat Row 2.

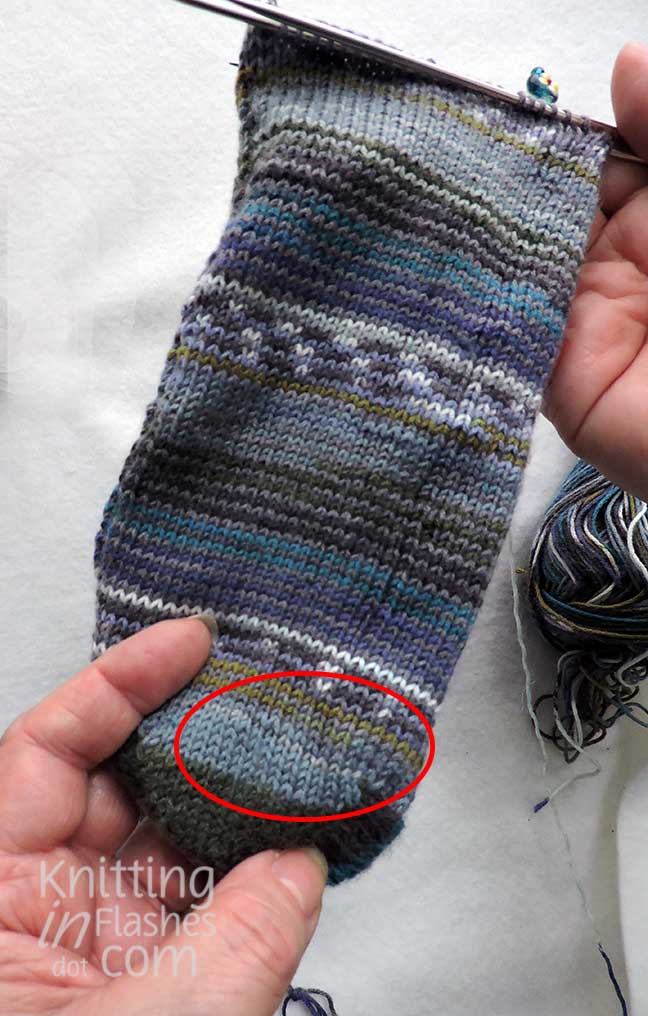
Repeat these four rows until ready to turn the heel, usually 32-33 rows.  This pretty knitting stitch offsets the slipped stitch every other row, which results in a diamond pattern.

No purls or twists

I hope the saga of the twisted stitches and purl bump socks is over.

Removing the purl bump in the middle of the sole was a very easy task.  Untwisting the row of stitches on the heel was not.

I used the same technique for both repairs but I had to rip out the toe shaping to get down to the twisted stitches.  Not really a big deal as it was only 21 rows of decreasing numbers for a total of 892 stitches…but who’s counting, right?  Much better than ripping out the entire foot!

Remember when you got a run in your stockings or tights and it was the end of them?  If you were lucky, you could stop the run from getting bigger by dabbing a bit of nail polish on the end.  Well, I created a run on purpose.  Knitters will understand this but for the rest, I’ll explain why I did this and how to fix it.

  1. Secure the offending stitch, be it a dropped stitch, twisted stitch or the wrong stitch (knit instead of purl or vice versa).
  2. Release the top stitch in the column directly above the offender.  In my case, it was 70 or so rows above.  *Note to self – periodically check knitting for dropped, twisted or the wrong stitch.  Don’t wait until the end to look!
  3. Run, stitch, run!  Help the run along all the way down to the secured stitch.  I was amazed at how much yarn one little stitch used.  Twist that stitch and it will make a tight ridge on the wrong side.
  4. and …
  5. Use a crochet hook, preferably one the matches your needle size…
  6. …and following the stitch pattern, pick up the stitch and reknit it and all the other stitches in that column up to the top.  Fortunately, the stockinette stitch is the easiest to pick up and reknit.  See my fingers poking through the run!?
  7. Secure the stitch onto the tip of the knitting needle.
  8. Repeat until all stitches are secured, accounted for and where they belong.
  9. No more twisted stitches.  They might be a bit tight but once I give them a good soak, they should will (hopefully) relax a bit though I’ve not tried it with this yarn. And the purl bump is gone because I fixed it before I took these pictures.

Even though I had several twisted stitches to do, I only did one column at a time.  Seeing how much yarn one stitch uses, it can be easy to pick up the wrong section of yarn or in the wrong row order if there is more than one stitch worth of yarn. The problem(s) that creates is not worth the perceived time saved.  Trust me.  Experience is a great teacher.

Now all I have to do is reknit the toe and knit the second sock.


Goodbye…

…to 2013.

Hello, Twenty Fourteen!

May your new year be full of joy, health, friendship, love, peace, prayer, thankfulness and comfort.  And finished projects.

I want to be more positive this year, however I need to wrapup last year.  Referring back to my previous post, these are what didn’t get finished for Christmas:

  1. The quilts.
  2. Two of the four pencil/marker cases.
  3. Snowman kits and drawstring bags.
  4. The taggie ball for our baby grandson.
  5. The second slipper.  (It’s finished now but not for Christmas.  It wasn’t a gift so why was I even worried about it?!  Duh!)

On the positive side I did complete two pencil/marker bags and flannel marble mazes (idea from Serving Pink Lemonade) that weren’t on my list.  Extra credit, maybe?  And, of course, all the gifts were wrapped.

Christmas-2013-E&Z

Two box bags, one with a pink zipper and orange lining, the other with a purple zipper and blue lining.   (Even added names to the straps with my new sewing machine!)  The pillowcases that match the quilts.  Six flannel marble mazes using scraps of fabric.  Only three are shown here.  They were actually a bigger hit than I thought they would be.  The marble is contained inside so no worries about losing it or getting into the wrong hands (or mouth) of a baby.  The reverse is printed.

We had a very merry Christmas.  Did you?

Sorry Mr. Aitch.  I’m not showing the gifts you received.

Christmas-2013-all

Christmas-2013-book

Yes, I know I have another sock book that I “planned” on knitting every sock in order but the first sock was so intimidating that I haven’t opened up the book for a long time.  (Purchased in 2010!!)  This one will be different.  I hope.

Christmas-2013-dvd

I’ve only seen Season One so don’t tell me what happens!!

Christmas-2013-calendar

I love these kinds of calendars.

Christmas-2013-bag

My new knitting bag is the Retro Metro from thirty-one.  I think this will be large enough for my travel knitting.

The rest of the gifts were already eaten or in use.

I’ve started knitting a sweater for our grandson’s first birthday on the 17th.  I’m making up the pattern as I go.  It will either be a learning experience or it will be the perfect gift.

How’s that for a positive attitude!

Seamed slippers – a pattern

A reader of my last post needed a simpler slipper pattern that did not require double-pointed needles, knitting in the round or a lot of increasing or decreasing of stitches.

So I found the original pattern from my grandmother and made it into a pdf for you to save for yourself.   These are the slippers that my grandmother and my aunt made for many, many years.  I remember my mom was collecting clothing for a rummage sale and someone donated a hand knit wool dress.  It was purple with hot pink, grey, and white stripes and easy to see why it had been donated.  My grandmother ripped the dress apart and saved the yarn.  I have no idea how many of these slippers she and my aunt made with this yarn but we received some variation of purple slippers for years and years and years.  This is not an original design and you can do a search to find many variations on this pattern.

The pattern is easy and knitted flat.  It’s a great beginner pattern for someone learning how to knit and purl.  There are two decrease rows.  Two seams are sewn for each slipper.  The end result is almost the same as the seamless slipper but the heel part is a bit wonky as it isn’t shaped quite the same.

Here’s a photo of the bottom and back seam.  Once on the foot, the sole evens out and fits fine.  It just looks weird at first.  Have fun and let me know if you make these.

seamed-slippers-002

The pattern is listed on the “My Designs” tab at the top of this post as a pdf pattern.