Thanksgiving week – Part 1

I know I’m late posting about our American Thanksgiving week. What’s new?

First up: I finally finished a puppy sized quilt for our Mini-schnauzer Pepper. I used leftover scraps of fabric in reds, blacks, and whites. I tried to go with an animal theme so I had some paw-prints, cows, and one flamingo fabrics along with flowers, some kites, polka dots, and miscellaneous red, black, and white prints.

I framed it with solid white and charcoal. The back consists of two different pieces of grey flannel that I had to piece together to get the right size. Boring so no picture.

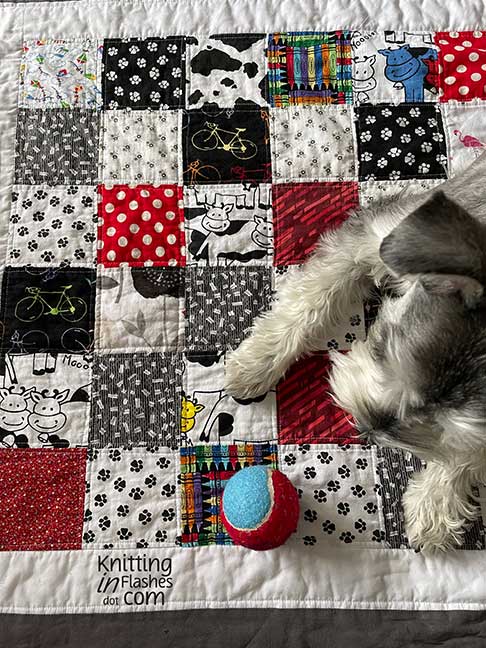
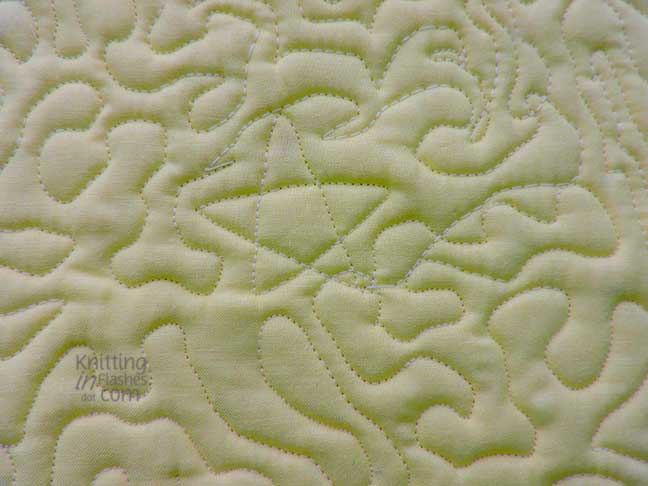
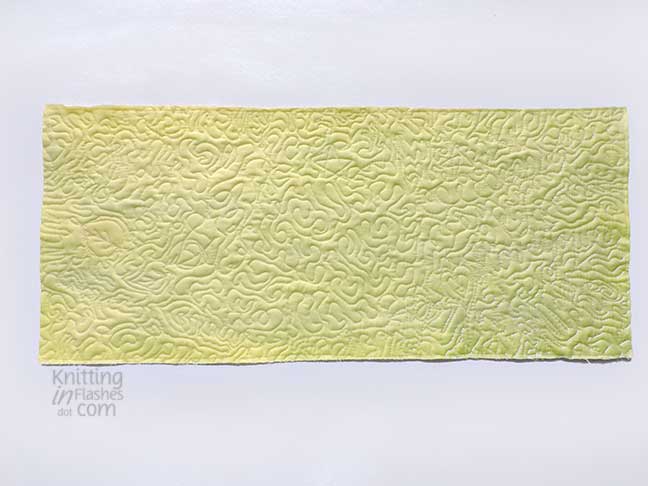
I didn’t bind the edges but simply sewed the front and back together leaving a 4-5 inch open section to turn it right-side out. Then I machine quilted about a 1/4-inch inside each block.

I keep it on the ottoman that Pepper likes to sit/lay/jump on to try to keep it cleaner.

I spent the night with a friend (who lives an hour and a half away) so we could get a jump start on a craft show in her city on the Saturday before Thanksgiving. She used to always bring a plate of homemade cookies or her delicious buckeyes to me whenever she was in the area, so I thought I’d make something edible as a hostess gift for the weekend.

With one decorated sugar cookie success under my belt, I made and decorated some autumn inspired leaf cookies.

I forgot I had these leaf shaped cookie cutters that must have been a gift with purchase or something similar from Nutella some years ago. (Confession: I am not a huge fan of Nutella, so that means more for you!) Perfect for the season.

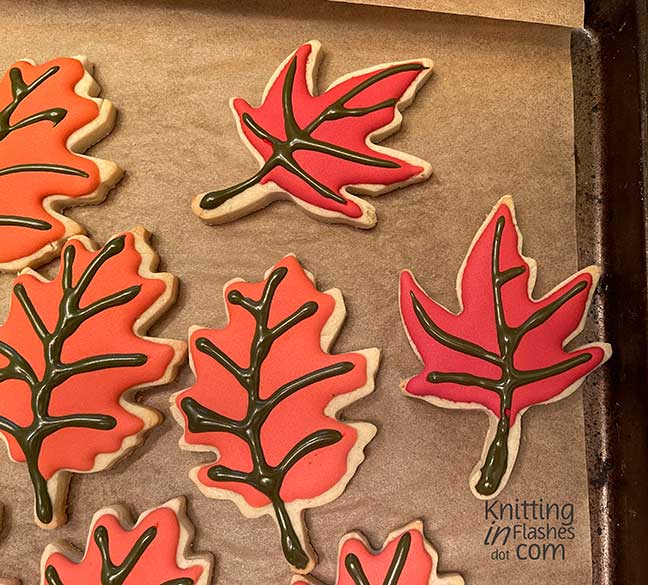
I think these turned out pretty nice. I’m still learning how to use Royal Icing and practice makes perfect. I plan on making more cookies this week for our church Christmas Party next Sunday.

Stay tuned for a sock update!

Quilted cover

Sewing is one of my more regular craft-type pursuits.  Quilting is a more recent one and I’m willing to experiment with my sewing machine.  Specifically the quilting, free-motion, or darning foot.

Without getting too technical when using this particular foot, the feed dogs are lowered and the pressure on the foot is set to light.  This allows the sew-er to gently maneuver the fabric in any direction while sewing, not just in a straight line.

I wanted to experiment with free-motion quilting and our heating pad needed a new cover.  No one would ever see this so what better way to learn than to practice!

I layered a piece of 100% cotton batting between two pieces of cotton fabric and pinned this all together before taking it to my sewing machine.  The total size was 12 inches by 27 inches. I began stitching in the center and made my way out toward the edges.

My stitches aren’t even as I moved the fabric around.  Going slowly gave me better control of stitch length.  You can see some longer stitches and very short stitches as I tried to make this star.

I drew a leaf with pink chalk and tried to go over the lines here.

More leaves and a heart.

Can you see the hidden messages below?


All quilted.

I added binding around the entire piece (don’t look at the horrible corners!) then folded it in half to make a padded envelope for our heating pad. I also made a new flannel cover to conceal it all and make it removable for washing.

I do need lots more practice using this foot on my sewing machine before I tackle a regular-sized quilt. It was fun and I learned a few things.

Do you sew and have you tried using all of the feet that came with your machine?Patti

What I’ve been doing

I finally finished the quilt for my Colorado grandson!  Happy Dance!!!

I love it, I Love It, I LOVE IT!

Once the top was pieced together, I added two borders to make it bigger to fit a twin-sized bed.  The finished size is 72 X 94.  I think I may have made it too large but, well, it should still work.

This is before the outside border was quilted.  I just ran a line of stitching next to the white border and again next to where the binding would be sewn.  I hope that area won’t shift without much quilting to hold it together.

The front.  Shout out to Mr. Aitch for standing on a stool and holding it up for the picture.  It was raining and the front porch was the only option.

The bottom right corner has a surprise for our grandson – his name (machine embroidered).

The back.

The bottom right corner has the dedication: To Lennon with love from Nona 2020 PJH.

And another surprise on the blue stripe running down the back – his initials.

Here is the quilt on a queen-sized bed. It’s plenty long enough! You can see the variations in the blues and greens better in this photo.

Ruana

Way last October I mentioned that my SIL asked me to knit a cardigan/poncho/ruana for her.

My progress so far – 200+ rows each side for the front with a few stitches added at the back neckline knit in a ribbed pattern for 15-16 rows.

I’m on the back half which will be approximately 200 +/- rows and 171 stitches for each row.

Nothing fancy as that is what she requested though I think pom-poms at the corners would be a great addition to add weight and interest.  My plan is to be finished with this by the end of the month…for mid-February at the latest.

The quilt is top is still unfinished but it’s down to the border pieces then the quilting…