Down the tubes

I was cleaning up my knitting bag and had to come up with another plan for all my double-pointed needles (aka dpns).  I’m not a Magic Loop convert yet so most of my socks and other knitted-in-the-round items are made using dpns.

I know I bought some of these but I also inherited some.  In the beginning, the needles were safe and organized in the original cardboard packaging.  Then the packaging fell apart. 

The inherited needles were held together with rubber bands or tape (Gasp!).  Rubber bands deteriorate rather quickly and leave gunk on the needles.  And tape residue is sticky and rough. 

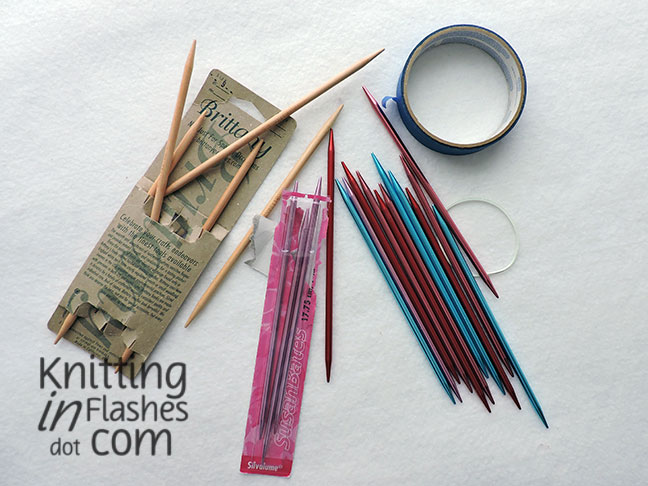
I made some holders from small paper envelopes and wrote the sizes on the front.  That worked for awhile but it wasn’t a fantastic solution. 

Enter these double point needle tubes*!  
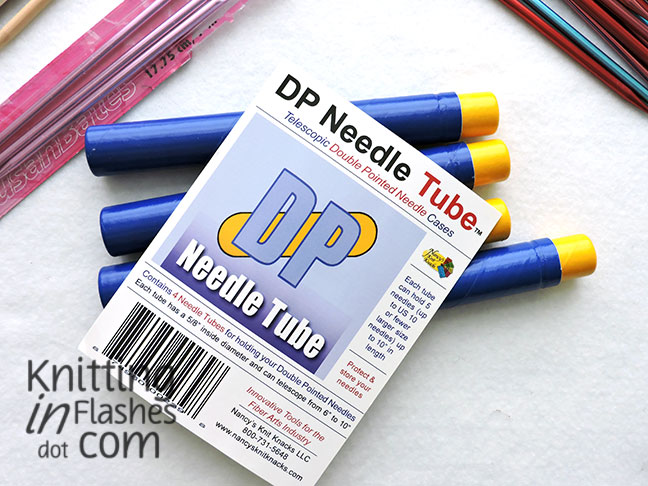
I love them. 

Now my needles have a more secure home.  I cut out some circles (address labels), wrote the size and stuck them on the end so I can see at a glance what needle I have/need. 

The tubes are adjustable so they can accommodate shorter or longer needles.  I even keep some crochet hooks in one as every knitter sometimes needs one of those. 

They now live in the knitting bag of tools and supplies.

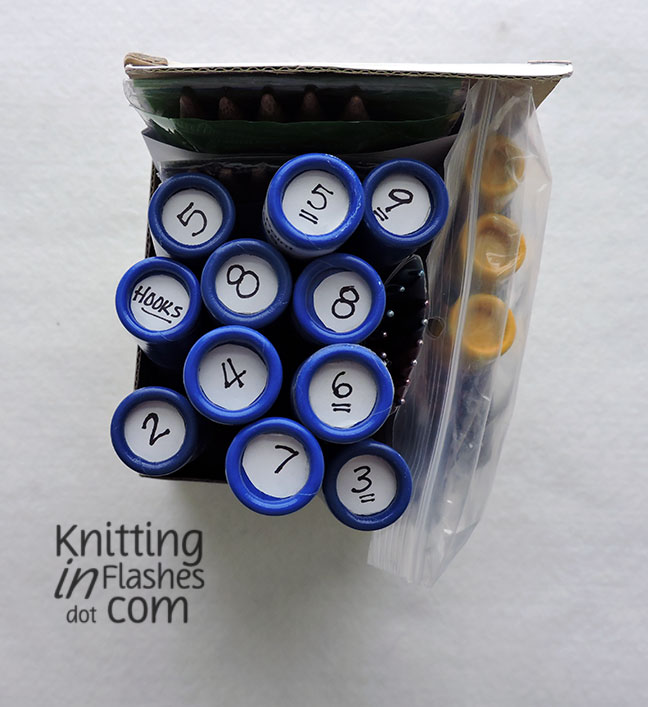
Sets of size 10 1/2 and above are too large to fit inside these tubes so until the Super Duper Sized tubes arrive, I will keep them in my make-shift holder. 

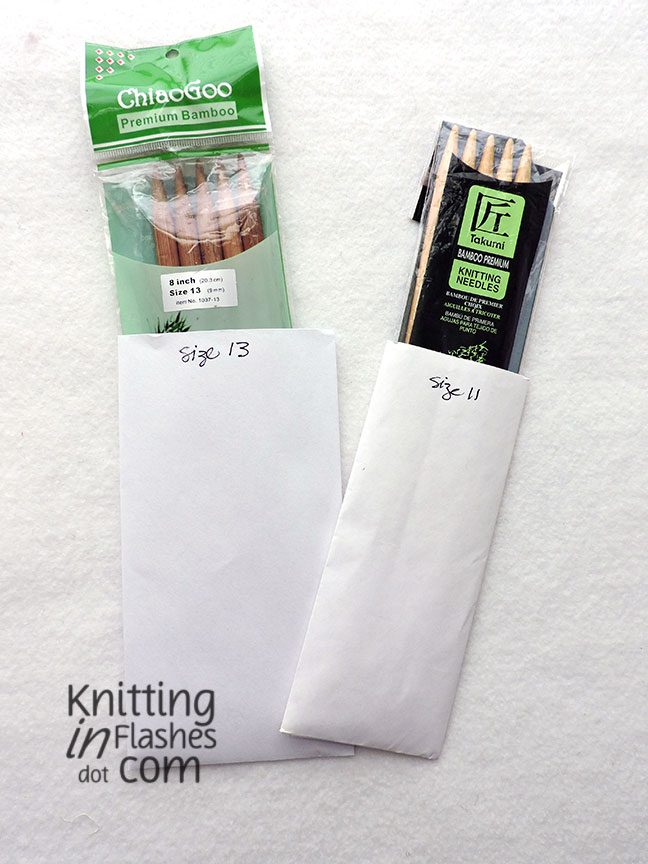
I’m not sure how I ended up with so many size 8 dpns.  But can one really have too many? 

*I received no compensation for this review.  I just like this product and thought you might, too.

Dealing with kinky

…kinky yarn that is.

This scarf has been in my UFO (unfinished objects) pile since October 2011.  That’s right, almost seven years.  The plan was to wear a bright color between my leather motorcycle jacket and helmet.

I love the colors.  I like the pattern.  I like the Linen Stitch.

Just not going to finish it.

Yarn gets kinky when unraveled, especially when it’s been knitted or crocheted for a long time.  To get the kinks out of the yarn, Mr. Aitch unraveled the scarf while I wrapped it around my (homemade) Knitty Noddy.  (Make your own here.)  The yarn was taut enough (though not too tight) on the Knitty Noddy so I left it on there, sprayed the yarn with some cool water and hung it on a towel rack to dry overnight*.

When all was dry, I took the yarn off the Knitty Noddy and saw that most of it was straight.  Only a little was still kinky but it was good enough.  I think those parts were on the loop end and didn’t get wet enough.

Mr. Aitch was busy and I was impatient so I “tried” to wind the yarn into a ball by myself.  Oops!  Made a knotty mess.

It’s almost like getting free yarn!  Now I need to figure out a project that uses 285 yards or less of DK weight yarn and isn’t a hat.

How do you get the kinks out of unraveled/reused/recycled yarn or do you just knit with it all kinky and such?

*This Knitty Noddy is made from PVC pipe so it’s ok to get it wet.  Not sure if leaving the wet/damp yarn on a wooden one would be a good idea.


Not knitting but related

I need some small project bags for travel knitting but didn’t find any suitable (knitting or yarn related) fabric in my stash.

Enter the wonderful interwebs shopping!  In less than a week I had this cute fabric from Rushin’ Tailor (in Alaska) in my hands and am so excited to make something out of it!

This “Yarn Balls and Words” by Timeless Treasures will be great for a tote.

The “Knit Happy” by Stitches of Love would make cute notions bags as the print is smaller.

Aren’t those colorful dye dot sheep on the salvage just the cutest!

I think this one is my favorite.

All those textured, bright wooly sheep are begging to be with me all the time.

Wouldn’t a small fussy-cut patch of “All’s Wool that Ends Wool” by Maria Kalinowski make a cute pocket on some PJs?


Calico is now Sunny Day

Last week I mentioned that I was reknitting a top using some Berroco Calico yarn.  The colors are very difficult to capture but it is a riot of warm tones.

Using the Drops Sunny Day Top pattern, I decided to start on the front before I got to the armhole shaping for the back.  I want to use as much yarn as possible and at this point, I can make the top a bit longer or shorter as needed.

The top has a two stitch garter edge that should make seaming a breeze as well as four rows of garter stitch at the bottom to keep it from rolling too much.

My markers indicate the decrease rows.  Only eight stitches in all but it should give the top some shaping.

The charted back is relatively easy but I need to concentrate.

As you can see, I missed the correct placement of one of the yarn overs.  It’s closer to the bottom than the top and I’m not going to fix it.

That’s right.  It will be our secret.  Shhh!