FO Friday

I have a couple of finished objects (FO) but no pictures to share.  They are still on my camera.

  1. Sewing Project #1:  My wonderful sister made a needle roll for me (see below) so I adapted her handiwork for a travel pouch for our phone charger, helmet chargers**, camera charger, and whatever other charger we need while traveling.  I will post pictures ASAP. 
  2. Sewing Project #2:  Using some leftover fabric, fusible fleece, and teflon fabric, I made a travel cover for my flat-iron/curling iron.  Fixing my hair is usually the last thing I do when getting ready to go someplace and I needed a way to pack the still warm appliance without burning myself or damaging anything around it.  I’ll most likely use this only when traveling but could be used all the time if you like to put yours away.  I will post pictures ASAP.
  3. Knitting Project:  I am this >< close to finishing the Fetching Mitts.  I will have enough yarn to bind off and make the thumb on the second mitt.  If you recall, I did not have enough yarn the first time around so I frogged (ripped) them out and reknit them.  I will be very happy to wear these…unless I decide to gift them.  Shown below are the original pair.  I will post pictures ASAP.

    Before

I do have a few more things I’ve been working on but they are secrets for now.

Sorry for the recycled pictures.  Posts without something to look at are boring.

And the mitts pictures above really are from the same ball of yarn and are the same color.  Must be the lightning as the one on the left doesn’t look as bright as the one on the right.  Hmm.

** Our motorcycle helmets are equipped with Bluetooth (coolest thing ever) so Mr. Aitch and I can talk to each other when riding separately or together.  We don’t talk a lot but it’s really important for him to be able to hear me when I’m on the back of the Harley and play the role as navigator.  I can share a little bit about our process next week…if you’re interested.

Almost finished…

The dresses are almost finished.  I have had some hand sewing and the buttonholes and buttons left to do.  Or maybe I’ll do some other type of closure.
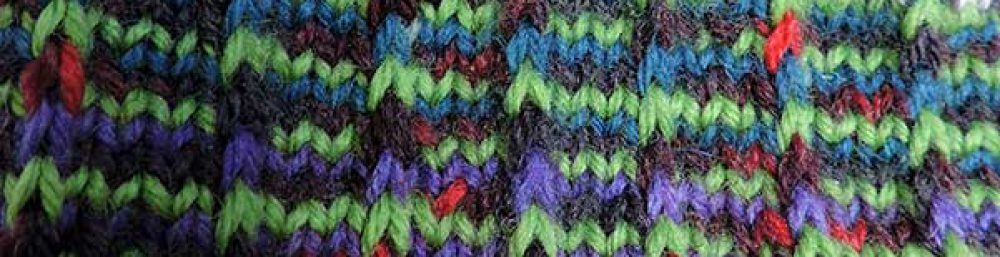
Side 1

Still side 1

Side 2

I really like them.  And I brought them to work to show one of my co-workers.

Then something bad happened.

Really bad.

Have you ever had something so disastrous and incredible happen that you can’t believe it is true?  No one died but something got very damaged.  Shredded to be exact.

This thing is the size of a washing machine!

Zoom in to see the name.

This sucker is heavy-duty.  It’s not called “DestroyIt” for nothing.

And I was standing next to it when I was showing the dresses to my coworker.  Why was this beast turned on in the first place?  I don’t know.

Shocking

More shocking

It’s just the back.  “Just the back” she says.

I can repair it.

I think.

Right now I just want to throw up, cry, and go home.

Neckwarmer

I don’t think I ever showed you the finished Herringbone Neck Warmer.  I wore it to work yesterday morning under my motorcycle jacket.  It was 56 degrees and at 65 mph one’s neck can get chilled.

With jacket

Without jacket

I really need some color on my lips!  And pardon the “helmet hair”.

It is soft and warm and the perfect size to do the job.  My only complaint is the color.  I love the color but wanted something brighter.  On the shelf  the green looked like it would be the pop I needed but it just got lost with the blue and purple.

Pattern:  Herringbone Neck Warmer by Craig Rosenfeld

Yarn: Araucania Panguipulli color #10 Olive and Purple

The herringbone stitch pattern is very warm and dense.  Yes, I’d make it again in a brighter color.

Secret painting project

For the past few weeks I have been working on a secret painting project.  It is now finished.

Ever heard of this game?  They have an official site with rules and everything!  Our daughter told us about the game and we thought it would be a great way to get everyone to play together from the two-year-olds on up.  It’s great for family reunions, tailgating, outdoor parties, or any time!

I bought the raw 2-foot by 4-foot plywood game boards already assembled sight unseen and decided to finish them myself.  The plywood was the worst I’ve seen and I think I overpaid (an understatement) for them.  They are solid construction-wise but the quality of the top was pretty poor.

I used an 8-oz. container of wood putty to get them semi-even then sanded them as smooth as I could before the painting on the primer.

Next was a base coat (or three) of white paint.

Then I taped around the edges and painted one blue and one yellow.

The final design with five coasts of polyacrylic.  No, those are not decals.  I painted the flying WV myself with the aid of painter’s tape and an Exacto knife.  Fortunately you can’t see the up-close and personal details.  They look great from a distance…there are “inconsistencies” when you get real close.

Now we just need a party!