Pre-felting measurements

I measured my Garter Stitch bag before I put it in the washing machine.

The square measures a little bit less than 4 inches.   Sorry for the glare.

16 inches across.

And almost 13 inches from the top point to the bottom.

It’s in the washing machine right now in a mesh bag and two pairs of jeans.

Felting.

I will check it in 15 minutes.

I hope I’m happy with the results.

WIP with picture

I rushed home after the two-day conference we held in another city so I could get to my final knitting class for the Garter Stitch Bag.  I was only 15 minutes late.  Not bad for leaving at 1:25 and walking into the class at 2:15.  67 miles in 50 minutes including parallel parking right in front of the store.  You do the math.

One side of the bag was sewn together late Sunday evening.  I didn’t get home from work until after dark on Monday and I didn’t have time the past two days to get any pictures of the actual sewing.

So in class today I learned how to do an attached i-cord on the top edge and am half way around it.  My brain is a bit tired from all the running around the past few days and I just hope I remember how to do it tomorrow so I can finish and get this felted over the weekend.

You can see the i-cord on the top left side and my needle sticking out on the back.  The blue and orange stitch holders are holding the left side together until I can finish sewing it.  The yellow yarn is the provisional cast-on for the beginning of the i-cord.  Hmmm…that one section doesn’t look very even.  I might have to frog (rip it) that part and redo it.   

I want to take “before” and “after” photos with measurements so I can get an idea of how big/small this one will be when finished.  My sister (Hi Jude!) hinted that she might want one of these, too.

Garter stitch bag update

I’m finished with the main part of the knitting and all the ends are woven in that can be woven in.

I numbered each square so I didn’t get confused as to what I was doing.  I kept the little squiggle of the lime green.

I also did swatch and felted it.  You can see the difference in the texture but it didn’t shrink too much.  It’s the one that doesn’t have a number pinned to it.

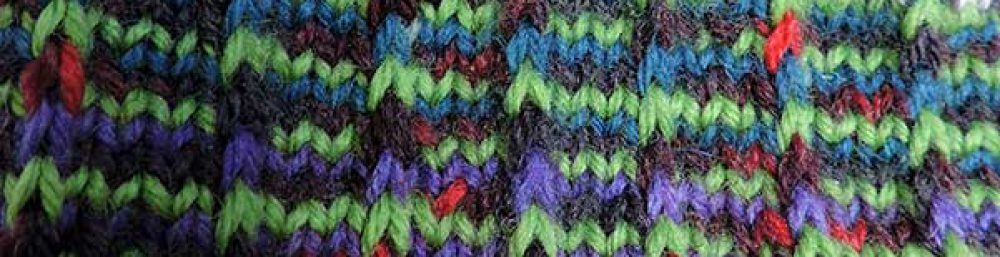
I’m having a terrible time getting the colors to show up right on here. 

The next step is to trace around the entire bag on a sheet of tissue paper so I have a template for the lining.

The the sides are sewn together: A to A, B to B, C to C, and D to D.

It becomes three-dimensional at that point and gets a little complicated after that since I don’t have those edges sewn together.

I WILL have those edges sewn together before class on Wednesday and then can start on the attached I-cord around the top.

Work is going to be a little (who am I kidding?) a lot hectic the next couple of days.  We have a conference on Tuesday and half of Wednesday so I will be busy.  I may will be working late on Monday so any sewing has to get done tonight.

2 questions

I started the Garter Stitch bag on Wednesday in a class taught at my LYS (local yarn store).  I decided to make the bag smaller than the sample (17 stitches instead of 25)  and I’m wondering if it will be too small.  That’s really beside the point.

The point is my color placement.

I have 7 of the 22 squares finished and I decided I wanted to add a shock of lime green to the muted ruby-red and charcoal grey.  Anyway, I’m thinking that having a green stripe in every square is not as shocking as say, just one or two stripes of green.

What do you think?

Second question (and I’ve already decided what I’m going to do):

See that arrow pointing to the space between the two squares?  That seam is thicker than any other seam.  Now, I’ve never felted anything before and don’t know if this make a difference in the finished product but I think I want to redo that seam.

What would you do?

Of course if I take out the green stripes in most of the squares, my second question will be answered.