Paper towel hack

Disposable paper products can be a great thing or just another way to separate us from our hard-earned money. I’m not a greenie by any stretch of the imagination but I’ve cut down on buying/using some paper products: paper napkins, paper plates, tissues, paper bags. Paper products I can’t give up are: paper towels and toilet paper.

Terrycloth hand towels are the norm for us, however, I like to wipe up greasy, oily spills and other grossness with something I can throw away.

This started years ago when paper towel companies came up with the “select-a-size” gimmick. I ignored it. Then I bought some and lo and behold, I loved having that choice of a half-sheet, whole sheet or even one-and-a half sheets and beyond.

I waste less when I can pick a smaller towel for a smaller clean-up.

The last time paper towels were on sale, I bought one (or two) packages. I thought they were the select-a-size but when I was putting them away, I realized they were the whole sheet towels.

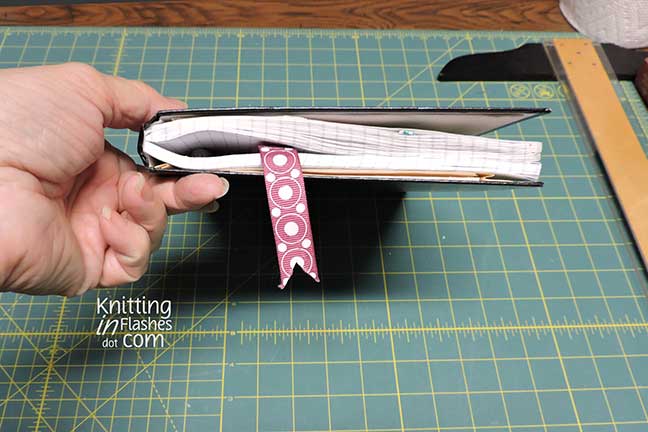
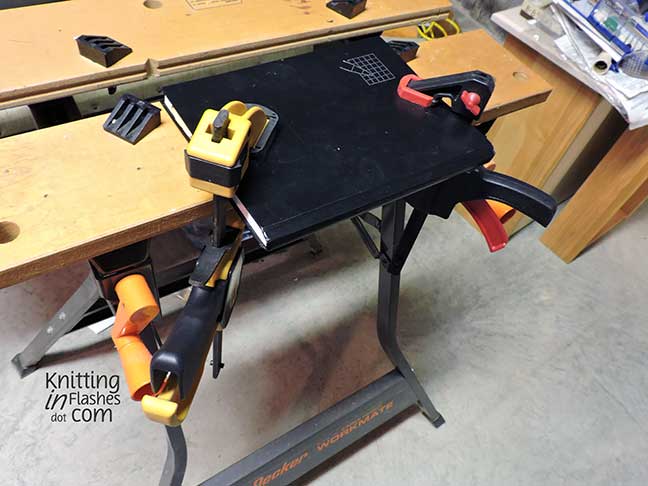
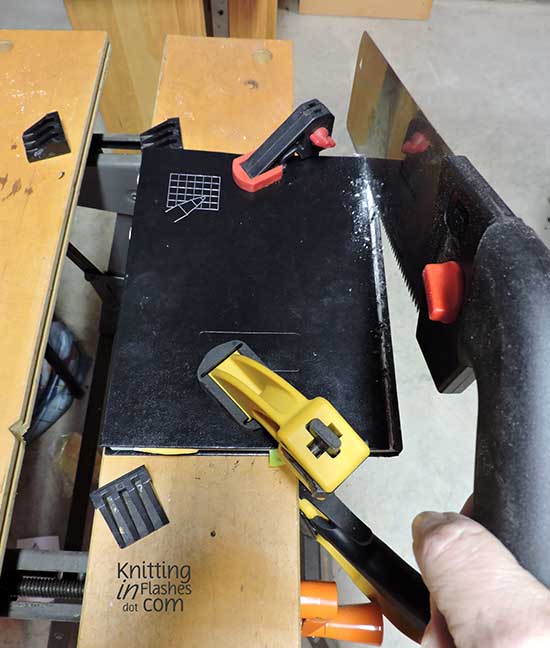
Enter the hack: I cut a roll of towels in half with a saw so I have half-sheet paper towels. I wanted easy access to both sizes of towels so I had to come up with a way to adjust my towel holder.

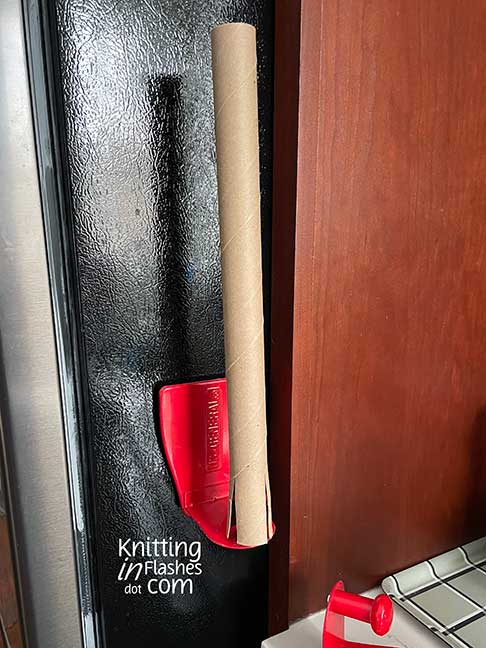
This is the super-duper strong magnetic paper towel holder I have (more colors available) that lives on the side of my refrigerator. It comes in two pieces so I can expand it with a longer core to fit both rolls. I used a tube from an aluminum foil roll that was smaller than the paper towel core, making vertical cuts at the bottom so it would fit snuggly over the end.

I put one roll over the new core,

the half roll,

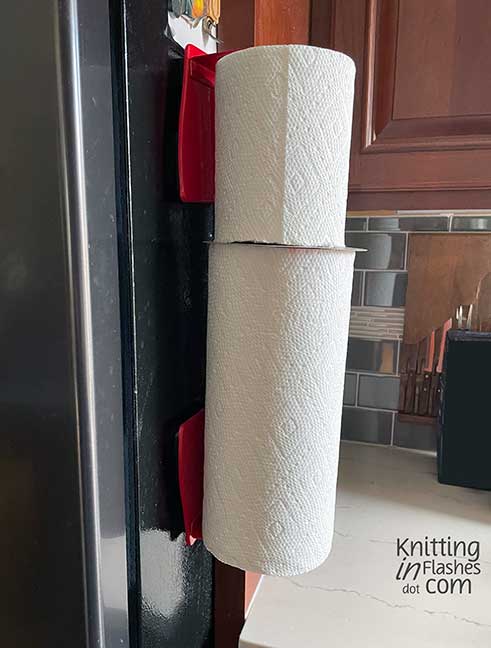
then the top of the holder keeps everything in place.

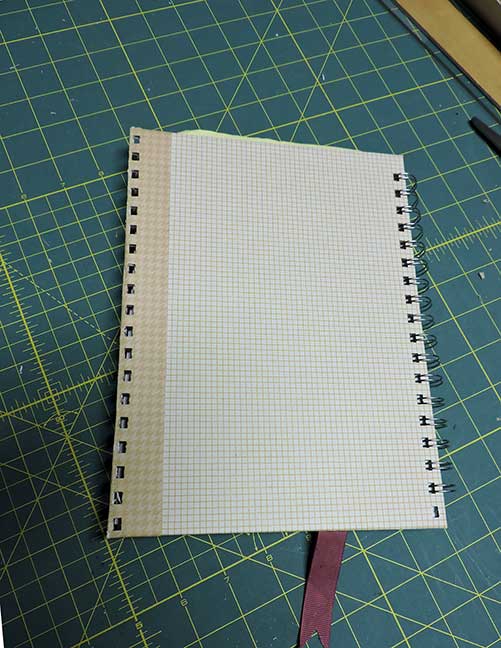
I have two pieces of cardboard between both rolls so they can move independently but haven’t perfected that yet as they both turn when getting a towel.

So that’s my life hack.

Patti

My yarn swift

A yarn swift is a device that holds a hank of yarn fairly taut so one can wind it into a ball without creating a hot mess of tangles and knots. Usually I use my knees, an upside down patio table or Mr. Aitch’s arms as my yarn swift. Having a rotating mechanism is much easier.

Here are the parts of my swift.

Two arms 30-inches long that are notched in the center to fit together to make a cross. One hole is drilled into the center to hold the arms onto the base. Each arm has holes drilled partway through to hold the dowels that will eventually hold the yarn. A two-piece base. Two washers though one would work to make the arms rotate easily. Five 6-7 inch dowel rods.

The two base pieces notch together.

Next the washer(s), and the longer dowel.

These are the washers I used. I couldn’t find a large one with a hole that would fit my dowel. The smaller one fits inside the larger one perfectly so it won’t wobble when the arms turn.

The two arms lap together in the middle to make a cross and slide over the center dowel.

The four other dowels are pushed into the holes, one on each arm, to correspond with the size of the yarn hank.

I ground the ends of the dowels just a bit with a pencil sharpener so they would go into the holes easier.

Voila! I spent $10.68 on the wood and washers. After several hours of cutting, repeatedly plugging and unplugging my tools, and assembling, I got myself a yarn swift that when not in use, takes up very little space.

I had a short video of the swift in action but I couldn’t get it to load properly.

My next sewing project will be to make a drawstring bag to hold all the pieces.

Now if I had a woodworking shop and all the necessary tools, this would have looked more professional. In my dreams a band saw, drill press, table saw, chisel, and a router would be awesome. Instead I used a jigsaw, drill, coping saw, hack saw, Dremel tool, screwdriver, utility knife and sandpaper.

Here are the two videos I watched for the dimensions and demonstration from Cozy Corner Crochet.

If you want more details, just leave a comment.

Now, if I can make this, you can too!

Patti nona

I made one myself

I mentioned earlier that I wanted a yarn swift. Mr. Aitch didn’t think so but he was reluctant to lend me his arms when I had a hank of yarn that needed to be in a ball.

I scoured the internet and found a site that gave me the basic details to make one for myself. This is an Amish style swift which is horizontal with few moving parts and not the umbrella style that looks like a torture device.

We don’t have all the fancy tools or a woodworking shop so you might be able to make one, too. The total cost was under $11. I can fill you in on all the details just as soon as the skies clear and I can get a decent picture.

Sing it with me….The sun will come out tomorrow….

Patti nona

I ruined it

I was so confident with my little binding machine that I decided to turn my knitting book into a wire bound book.

This book is where I keep all the information about my knitting projects. It’s the record of the pattern, yarn, needle size, date, stitch and row counts, and anything else that relates to the project.

It will be perfect when I want to keep the page open to a certain spot.

In my most cocky voice inside my head I said to myself, ” You’re a genius, Patti. An absolute genius! You can do this!”

I grabbed my knitting book and started right in.

I clamped the book to the worktable.

I “should” have noticed that I wrote close to the inside edge of the book before I started with the saw to cut off the spine. In fact I should have just cut the book apart with a craft knife and not the saw.

Realizing my mistake, I kept right on going. The book was already cut and there was nothing I could do about that.

I covered the front and back covers and punched away to get the holes for the wire comb…forgetting to readjust the machine for the back cover. The holes didn’t line up.

I looked around for an old book that I could take apart to redo the covers. No luck.

So I did the next best (that’s debatable) and flipped the covers around and punch the other edge.

That didn’t work out so well but the at least one side of the punched front cover matched one side of the back cover. I finished binding the book and decided to rethink my choices when trying this genius (NOT) idea again. The cover is bigger than the pages but the pages are too low and almost stick out at the bottom.

The book is ruined and a major mess but I can still make out most of my notes.

The one bright spot is that the rest of the book will be great!

Patti nona